
Red Velvet Snowball Cookies with White Chocolate Filling Recipe brings bakery charm to your kitchen in the cutest bite size package. I pack rich cocoa flavor into a tender cookie and tuck a creamy center inside. You get a festive red color, a snowy powdered sugar coat, and a melt in the mouth finish. I bake these every winter, and I never leave the tray unattended because they vanish fast.
Why You’ll Love This Red Velvet Snowball Cookies Recipe
I keep the dough simple, soft, and easy to shape, so you can roll and fill without stress. The white chocolate center stays creamy and sweet and balances the light cocoa in the cookie. A double coat of powdered sugar gives a snowy finish that looks gorgeous on a cookie platter.
I use pantry staples plus red gel color, so you can pull this off on a weeknight. The cookies hold their shape, so you get that classic round snowball look every time. I also scale the batch for parties or small gatherings without any fuss.
Ingredients You’ll Need
cookies
- Unsalted butter 1 cup 226 g softened to room temp
- Powdered sugar half cup 60 g
- Vanilla extract 1 tsp
- Red gel food color 1 to 2 tsp as needed
- All purpose flour 2 and one quarter cups 270 g
- Cornstarch 2 tbsp
- Unsweetened cocoa powder 2 tbsp
- Fine sea salt quarter tsp
filling
- White chocolate chips or chopped bars 6 oz 170 g
- Heavy cream 3 tbsp
rolling
- Powdered sugar 1 to 1 and a half cups for coating
How to Make Red Velvet Snowball Cookies with White Chocolate Filling
- Make the filling. Warm the cream until it steams, then pour it over the white chocolate in a heatproof bowl. Wait one minute, stir until smooth, then chill until scoopable about 30 to 45 minutes.
- Start the dough. Beat the butter and powdered sugar until creamy and fluffy about 2 minutes. Mix in vanilla and a small amount of red gel color until you see a bold red base.
- Combine dry ingredients. Whisk flour, cornstarch, cocoa, and salt in a separate bowl. Add the dry blend to the butter mixture and mix on low until the dough forms and no dry spots remain.
- Adjust the color. Add more gel color if needed to keep a vivid red after baking. Mix just to combine so you keep the crumb tender.
- Chill the dough. Cover the bowl and chill for 20 minutes to firm the dough for easy shaping. Chill the ganache at the same time.
- Portion the filling. Scoop the set white chocolate into small half teaspoon mounds. Keep the mounds chilled while you shape the cookies.
- Shape the cookies. Scoop one tablespoon of dough, press it into a small disc in your palm, place a white chocolate mound in the center, then pinch the dough closed. Roll gently into a smooth ball.
- Arrange for baking. Line a baking sheet with parchment and place the dough balls two inches apart. Chill the tray for 10 minutes while you heat the oven to 350 F.
- Bake. Bake for 12 to 14 minutes until the cookies look matte and feel set on the outside. Rotate the pan at the halfway mark for even baking.
- Coat with sugar. Cool the cookies for 5 minutes, roll them in powdered sugar, then cool fully on a rack. Roll once more for that perfect snowy finish.
Tips & Tricks
- Use gel food color for a strong shade that stays bright after baking. Liquid color can water down the dough.
- Keep the filling cold while you shape so it stays firm and easy to tuck inside.
- If a ball cracks, pinch the seam closed and roll again with warm palms for a smooth finish.
- Sift the powdered sugar for the coating so it clings in a thin, even layer.
Variations
- Swap the filling and use dark or milk chocolate for a richer center.
- Add a drop of peppermint extract to the white chocolate for a holiday twist.
- Stir in very finely chopped toasted pecans for a nutty version.
- Use a gluten free cup for cup flour blend if you need a wheat free batch.
Mistakes to Avoid
- Do not overbake or you lose the tender bite and the color darkens too much.
- Do not overfill or the chocolate can leak during baking.
- Do not skip the second sugar coat or the finish looks patchy.
What to Serve with Red Velvet Snowball Cookies
- Strong coffee or espresso for a bitter counterpoint to the sweet center.
- Hot chocolate for a cozy match that kids and adults love.
- A chilled glass of milk for a classic combo.
- Vanilla bean ice cream for a warm and cold dessert plate.
Leftovers and Storage
I store cooled cookies in an airtight container at room temp for up to 4 days. Place parchment between layers to keep the sugar coat tidy and intact. I refresh the sugar coat with a light dust if it fades.
I freeze baked cookies for up to 2 months. I thaw at room temp in the closed container to avoid sticky surfaces. Also freeze shaped unbaked balls without sugar, then bake from frozen and add one or two minutes to the bake time.
Nutrition Information
I base the numbers on a batch of about 24 cookies. Values can vary by brand and portion size, so use this as a guide. I aim for smaller scoops to keep each cookie around two bites.
- Approx per cookie
- Calories 160
- Carbs 16 g
- Sugar 8 g
- Protein 2 g
- Fat 10 g
- Saturated Fat 6 g
- Sodium 50 mg
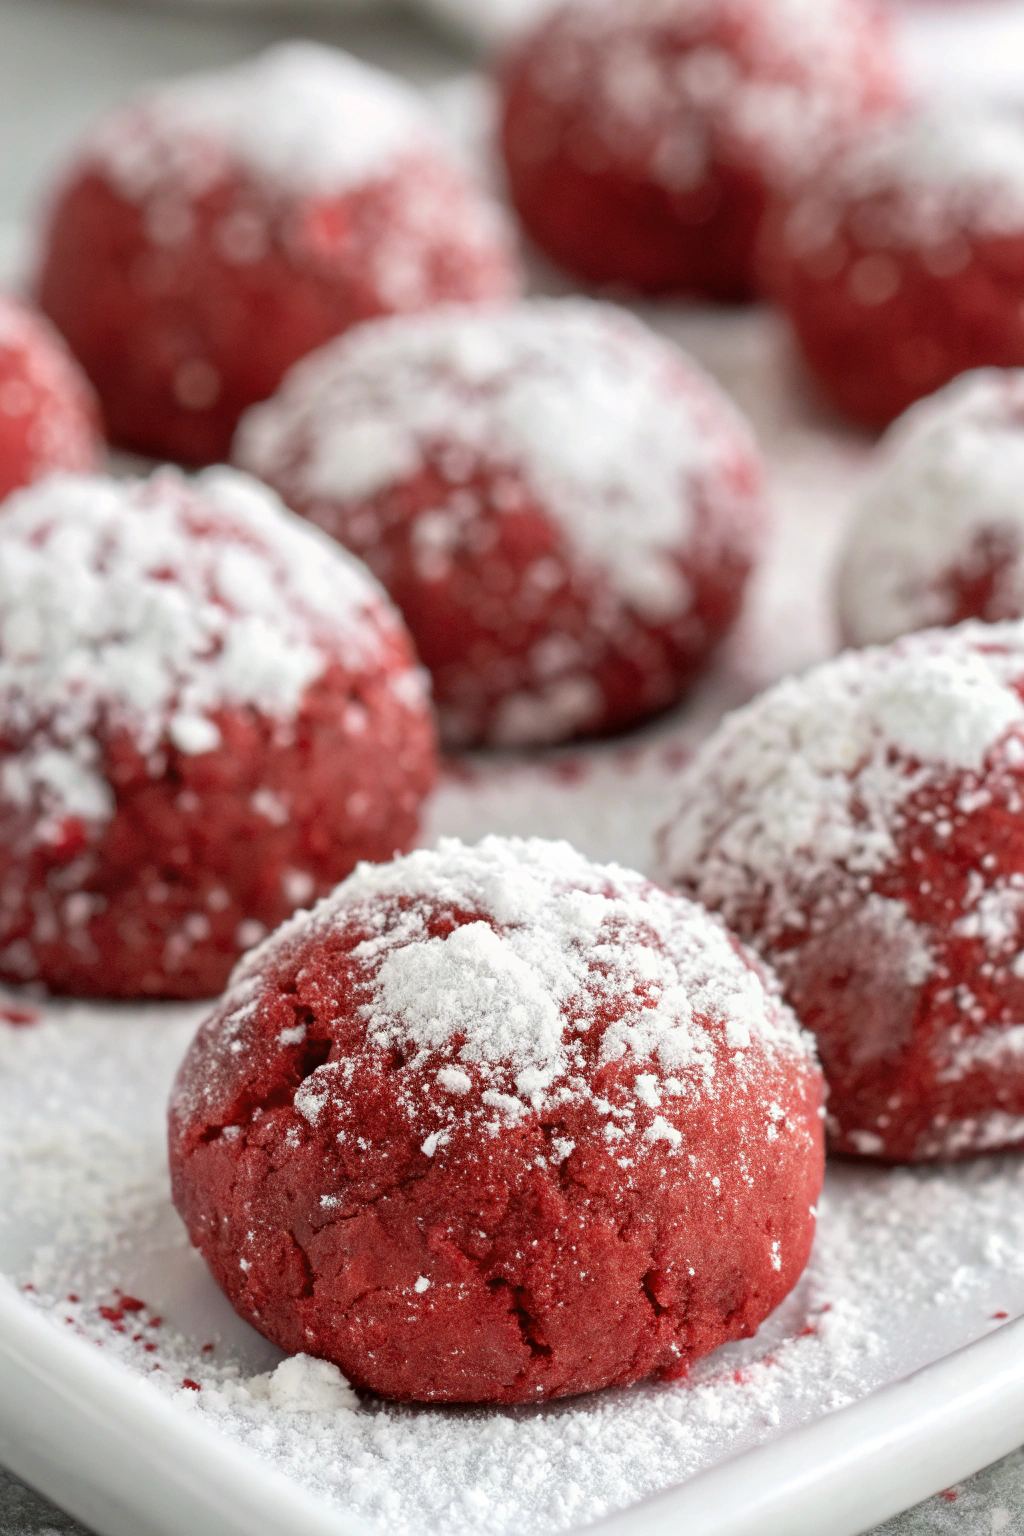
Red Velvet Snowball Cookies with White Chocolate Filling
Ingredients
Instructions
- Preheat oven to 350°F (175°C).
- In a bowl, cream the softened butter and powdered sugar until light and fluffy.
- Add the vanilla extract and red velvet cake mix and blend well.
- Gradually mix in the flour and salt until just combined.
- Roll the dough into 1-inch balls and place them on a baking sheet lined with parchment paper.
- Bake for 12-15 minutes or until set. Let cookies cool completely.
- Melt white chocolate chips and heavy cream together in a microwave-safe bowl, stirring every 30 seconds until smooth.
- Allow the filling to cool slightly until thickened.
- Spoon or pipe the white chocolate filling onto one cookie and sandwich with another.
- Let the cookies set before serving.