
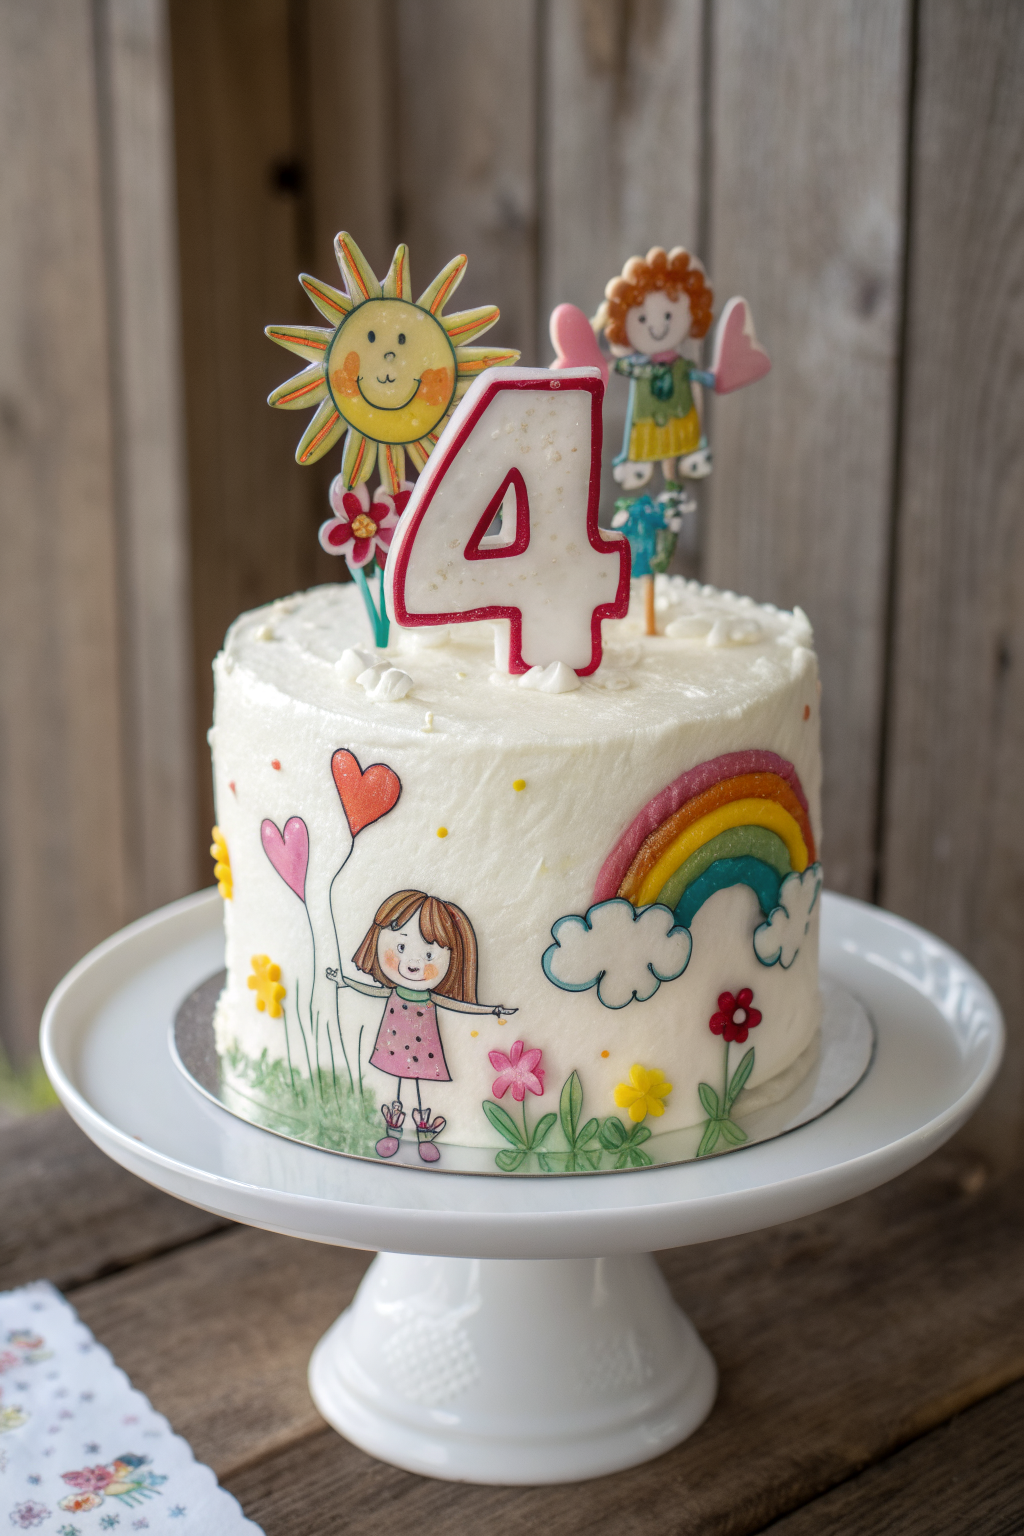
Rainbow Doodle Birthday Cake Recipe tastes like plush vanilla cake with a creamy, not-too-sweet buttercream and bright pops of color that make every slice feel like a party. It suits birthday lovers of all ages and takes about 3 hours start to finish, including cooling and doodling. I baked a version of this for my niece last month, and she made me promise to bring it every year.
Why Choose This Rainbow Doodle Birthday Cake Recipe
This Rainbow Doodle Birthday Cake Recipe gives you bakery-level style with simple, home-kitchen steps. You get a smooth white canvas, bold rainbow doodles, and a tender crumb that slices clean.
I use dependable ingredients, pantry shortcuts when you need them, and gel colors that keep the shades bright. The design looks impressive, yet you draw it like a notebook sketch.
My kids gasped, my neighbor asked for the recipe, and the cake vanished in minutes ★★★★★
Ingredients You Need
-
Vanilla cake layers
- 3 cups cake flour, spooned and leveled (or 2.5 cups all-purpose flour plus 2 tablespoons cornstarch)
- 2.5 teaspoons baking powder
- 0.5 teaspoon baking soda
- 1 teaspoon fine sea salt
- 1 cup unsalted butter, room temp
- 1.75 cups granulated sugar
- 5 large egg whites, room temp
- 2 teaspoons pure vanilla extract
- 1.25 cups buttermilk, room temp (or 1.25 cups milk mixed with 1 tablespoon lemon juice or vinegar)
- Optional: 0.5 cup rainbow confetti sprinkles for a funfetti vibe
- Shortcut: use two boxes of white cake mix, follow box directions, and bake in three 8-inch pans
-
Vanilla buttercream
- 2 cups unsalted butter, room temp
- 6 to 7 cups powdered sugar, sifted
- 0.5 teaspoon fine sea salt
- 2.5 teaspoons pure vanilla extract
- 4 to 6 tablespoons heavy cream or milk
- Option: swap in Swiss meringue buttercream if you prefer a lighter sweetness
- Shortcut: use 3 to 4 tubs of good-quality vanilla frosting and whip each tub for 30 seconds to fluff
-
Doodle colors
- Gel food coloring in red, orange, yellow, green, blue, and purple (AmeriColor or Chefmaster hold color well)
- Piping bags with small round tips (Wilton 2, 3, or 4) or food-safe edible markers
- Optional: colorful sprinkles or confetti shapes for borders
-
Equipment
- Three 8-inch round cake pans, parchment rounds, nonstick spray
- Stand mixer or hand mixer, rubber spatula, bowls
- Kitchen scale or measuring cups, measuring spoons
- Offset spatula, bench scraper, toothpicks
- Wire racks, cake turntable or lazy Susan
- Cake leveler or long serrated knife
- Refrigerator space to chill the cake between steps
How to Make Rainbow Doodle Birthday Cake Recipe
Prep the pans and heat the oven
- Heat the oven to 350°F. Spray three 8-inch pans, line with parchment, then spray again.
- Set out butter, eggs, and buttermilk so they stay at room temp. This step helps the batter mix smoothly.
Mix the vanilla cake batter
- Whisk flour, baking powder, baking soda, and salt in a bowl.
- Beat butter and sugar on medium speed until pale and fluffy, about 3 minutes. Scrape the bowl.
- Add egg whites one at a time and mix until smooth. Mix in vanilla.
- Add dry ingredients in three additions, alternating with buttermilk. Start and end with dry ingredients. Mix on low until just combined. Fold in sprinkles if you want funfetti layers.
Tint and bake the layers
- Divide batter evenly among three bowls. Tint each bowl with 2 or 3 gel colors and swirl lightly with a spatula. Do not overmix or you’ll lose the marbled look.
- Spoon the swirled batters into pans and spread level. Tap pans once on the counter to release bubbles.
- Bake 22 to 25 minutes until the centers spring back and a toothpick comes out with a few moist crumbs.
- Cool in pans 10 to 15 minutes, then turn out to racks and cool completely.
Make the vanilla buttercream
- Beat butter on medium speed until creamy and glossy, about 2 minutes.
- Add half the powdered sugar, salt, and vanilla. Mix on low until combined.
- Add remaining sugar and 4 tablespoons cream. Beat on medium-high until fluffy, 2 to 3 minutes. Add more cream a teaspoon at a time until you get a smooth, spreadable frosting.
Level, stack, and crumb coat
- Level cool layers if needed. Place the first layer on a board.
- Spread 1 cup buttercream over the first layer. Top with the second layer, then add another 1 cup buttercream. Top with the third layer.
- Cover the cake in a thin coat of frosting to lock in crumbs. Chill 20 minutes until the surface feels firm.
Smooth the final coat
- Apply a thicker coat of buttercream and smooth with a bench scraper while you spin the turntable.
- Keep the sides straight and the top even. Chill 20 to 30 minutes so the surface firms up for doodling.
Add rainbow doodles
- Set out 5 or 6 small bowls. Tint 2 to 3 tablespoons buttercream per bowl with gel colors. Load each color into a piping bag fitted with a small round tip. Or chill the cake well and use food-safe markers on the firm buttercream.
- Draw squiggles, stars, hearts, balloons, spirals, dots, and confetti lines around the cake. Work in short strokes and rotate the cake often.
- Wipe piping tips or marker tips often so colors stay clean. Add a sprinkle border if you like. Chill 10 minutes to set.
Chill, slice, and serve
- Chill the finished cake 20 minutes so the designs hold.
- Warm a knife under hot water, wipe it dry, then slice clean wedges.
- Light a candle and enjoy the rainbow.
Tips & Common Mistakes
- Weigh or spoon-and-level flour so the crumb stays tender.
- Use room-temp butter, egg whites, and buttermilk for a silky batter.
- Mix just until combined to avoid a dense cake.
- Use gel colors, not liquid dye, to keep strong shades and stable frosting.
- Swirl tinted batter gently so colors stay distinct.
- Line pans with parchment so layers release cleanly.
- Cool layers fully before frosting or the buttercream will slide.
- Chill the crumb coat and the final coat so doodles go on a firm surface.
- Test edible markers on a chilled smear of buttercream to check flow.
- Keep consistent pressure on piping bags for even lines.
- Wipe tips often and switch to a fresh bag if a color muddies.
- Do not overbake. Pull layers when a toothpick shows a few moist crumbs.
- If the frosting looks thick, add cream a teaspoon at a time. If it looks loose, add a few tablespoons of powdered sugar.
Variations I've Tried
- Funfetti layers inside with extra sprinkles folded into the batter.
- Chocolate version: chocolate cake layers with vanilla buttercream doodles.
- Strawberry milk cake: add powdered freeze-dried strawberries to the batter and frosting.
- Lemon poppy seed layers with vanilla or lemon buttercream.
- Gluten-free swap: use a quality 1:1 baking blend and add 1 extra tablespoon milk if the batter feels thick.
- Cupcakes: bake 24 cupcakes, frost flat tops, and doodle on chilled buttercream.
- Sheet cake: bake in a 9 by 13 pan and doodle a big party scene.
How to Serve
Slice with a warm, dry knife so the layers stay neat and the doodles look crisp. Serve at cool room temp so the buttercream tastes creamy, not stiff. Pair slices with cold milk, coffee, or a citrusy party punch. Add vanilla ice cream or a fruit salad if you want a little extra party sparkle.
Make-Ahead and Storage
- Bake layers up to 2 days ahead. Wrap each layer in plastic and keep at room temp. Or freeze up to 2 months and thaw in wrap at room temp.
- Make buttercream up to 1 week ahead and refrigerate in an airtight container. Bring it to room temp and rewhip for 30 to 60 seconds before using. Freeze buttercream up to 2 months and thaw in the fridge overnight.
- Assemble and frost the cake up to 1 day ahead. Chill uncovered until the surface firms, then cover loosely to protect the designs.
- Store leftovers in the fridge for up to 3 days. Bring slices to room temp for 30 to 45 minutes before serving. To soften a chilled slice fast, microwave 5 to 8 seconds.