
How to Make Gorgeous Dried Orange Slices delivers bright, lightly sweet citrus with crisp edges and a hint of marmalade. This how-to suits bakers, cocktail fans, and crafters, and the total time runs 3 to 5 hours with mostly hands-off drying. I keep a jar on my counter all winter and swipe a slice every time I walk by.
Why You Should Try This Gorgeous Dried Orange Slices
How to Make Gorgeous Dried Orange Slices gives you beautiful, edible decor and a thrifty way to use citrus. You gain a versatile garnish for cocktails, cakes, and cheese boards. You also get easy gifts and stunning garlands without much effort.
You control thickness, sweetness, and spice. You also choose the citrus variety, so you can mix navel oranges, blood oranges, and Cara Cara for a stained-glass look. Your kitchen smells amazing while they dry, which feels like a bonus.
Ingredients You’ll Need
- Oranges: navel, Cara Cara, or blood oranges work best. Firm fruit slices cleanly and dries evenly. Mandarins work too but shrink more. Thick-skinned grapefruit dries slower.
- Optional sweetener: superfine sugar for light sparkle, coconut sugar for a toasty note, or skip for pure citrus. A tiny pinch goes a long way.
- Optional spices: ground cinnamon, cardamom, or a whisper of clove. Pumpkin pie spice from the pantry works as a shortcut.
- Lemon juice or citric acid bath, optional: mix 2 cups cold water with 1 tablespoon lemon juice or 1 teaspoon citric acid to help keep color. I skip this when I want a more caramel note.
- Neutral simple syrup, optional: brush very sparingly for gloss if you plan decor only. Skip syrup for cocktail garnish to avoid stickiness.
Equipment
- Sharp serrated knife or a mandoline set to 1.5 to 3 mm.
- Two rimmed sheet pans lined with parchment or silicone mats.
- Wire racks that fit inside the pans for best airflow.
- Paper towels.
- Oven with convection if you have it, or a food dehydrator.
How to Make Gorgeous Dried Orange Slices
- Prep: 10 minutes
- Cook: 2.5 to 4.5 hours in the oven, 6 to 8 hours in a dehydrator
- Total: 3 to 5 hours including cooling
- Heat the oven to 200 F. Use convection if available. Place racks in the center of the oven.
- Wash and dry the oranges. Slice crosswise into 1/8 inch rounds for crisp slices or 1/4 inch for chewier slices. Remove seeds so the centers dry cleanly.
- Blot both sides of the slices with paper towels to pull off surface moisture. This step speeds drying and helps prevent browning.
- Line sheet pans and set wire racks on top if you have them. Arrange slices in a single layer with space between pieces. Dust lightly with sugar and spices if you want sparkle and flavor.
- Slide the pans into the oven. Bake 45 to 60 minutes, then flip each slice and rotate the pans. Keep the door cracked with a wooden spoon if your oven traps steam.
- Continue to bake and flip every 45 to 60 minutes until the centers look translucent and feel dry to the touch. Pull thinner slices earlier and let thicker slices go longer. Lower the oven to 175 F if edges darken too fast.
- Move finished slices to a rack and cool completely. They crisp up more as they cool. Use right away or store once fully cool and dry.
Dehydrator Method
- Set the dehydrator to 135 F. Lay slices in a single layer on trays.
- Dry 6 to 8 hours, flipping halfway. Check for dry centers with lightly curled edges. Add time if slices feel tacky.
Tips & Tricks
- Choose firm oranges for neat, even rounds.
- Slice evenly; 1/8 inch dries faster and crisps better.
- Blot both sides before drying to shorten the bake.
- Use wire racks on sheet pans to boost airflow and prevent sticking.
- Run convection and crack the door slightly to vent moisture.
- Keep heat low; high heat darkens edges before centers dry.
- For decor that needs flexibility, pull slices while still a touch pliable.
- For cocktail garnish, dry fully so slices stay crisp in the glass.
- Use blood oranges for ruby centers and a dramatic look.
- If humidity softens slices, re-crisp at 200 F for 10 minutes.
- Slip a knife under slices right after baking to release any sticky spots.
- Save end pieces for simmer pots or tea.
What to Serve with Dried Orange Slices
Serve dried orange slices on cheese boards with aged cheddar, toasted almonds, and dark chocolate. Add them to old fashioneds, spritzes, mulled wine, and spiced tea as a fragrant garnish. Tuck slices onto cakes, cupcakes, pavlovas, and gingerbread for instant glow. Tie them onto gifts or string them into a holiday garland with star anise and cinnamon sticks.
Make-Ahead and Storage
Cool slices fully, then store them in an airtight jar at room temperature for up to 3 months. Slip a food-safe silica packet in the jar if your kitchen runs humid. Freeze in a zip-top bag for up to 6 months and thaw at room temp on a rack. Re-crisp any soft slices in a 200 F oven for 8 to 12 minutes, then cool and return them to the jar.
Nutrition Information
Per 1 medium-orange slice, about 6 to 8 calories, 0 g fat, 0 g protein, 1 to 2 g carbs, about 1 g sugar, and trace fiber. Heat reduces vitamin C, though you still get bright citrus oils and flavor. A light sugar dusting adds a small bump in carbs and calories.
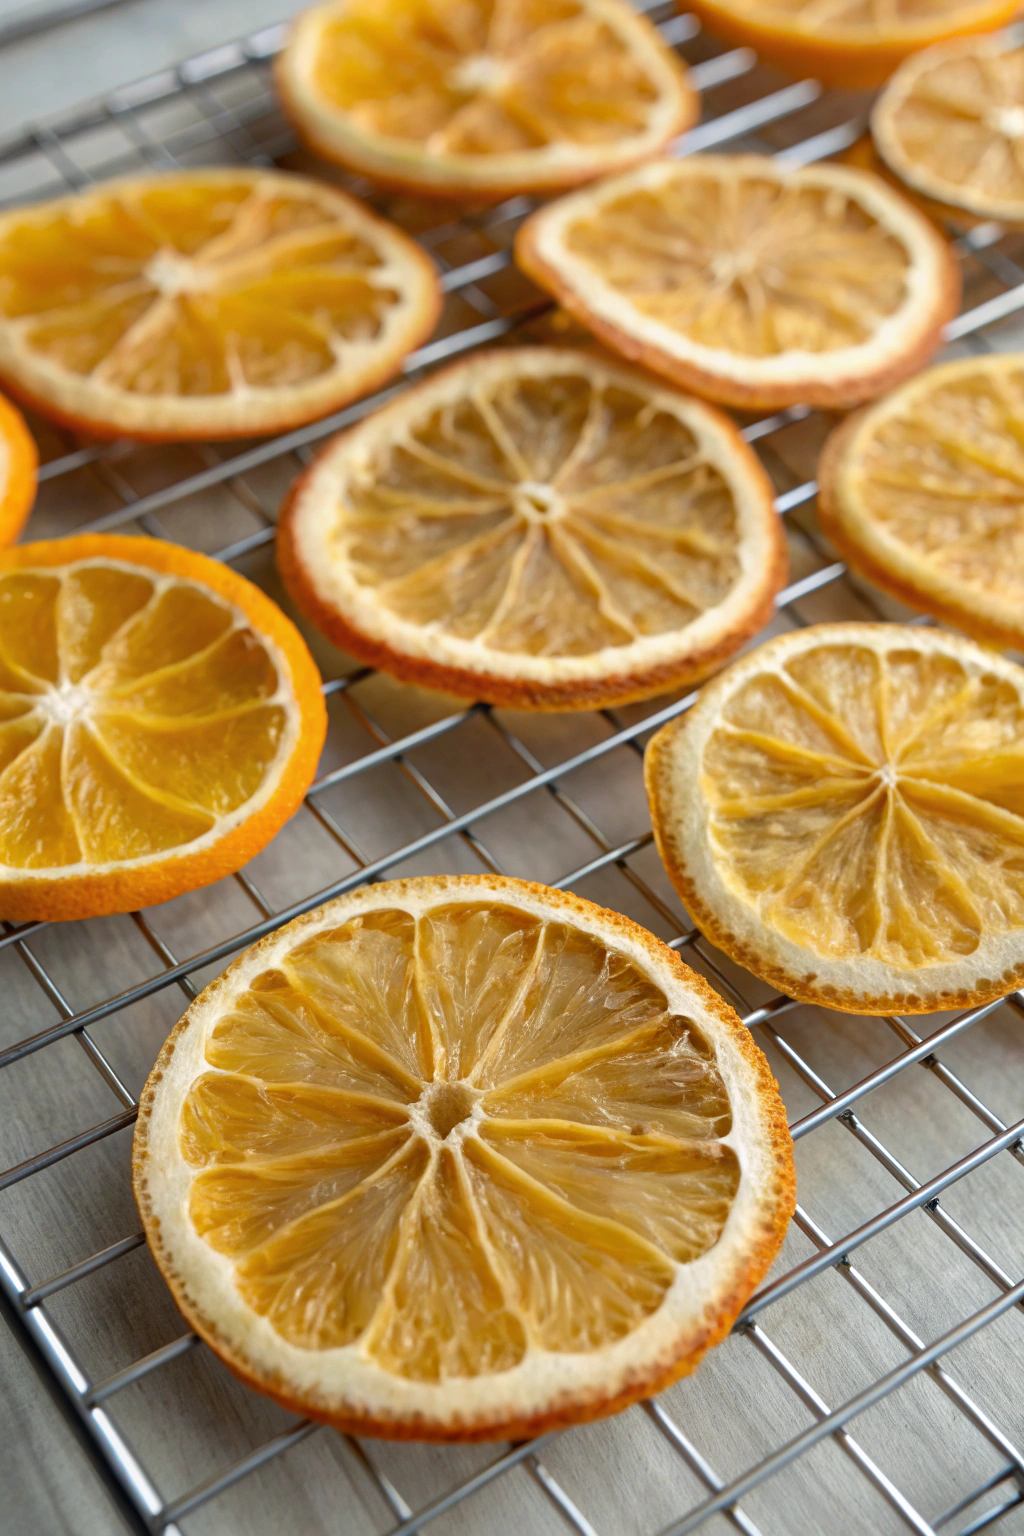
How to Make Gorgeous Dried Orange Slices
Ingredients
Instructions
- Preheat your oven to 200°F (93°C).
- Slice the oranges into thin, even rounds.
- Place the orange slices on a baking sheet lined with parchment paper.
- Bake the slices in the oven for about 2 hours, flipping them halfway through.
- Remove from the oven and let cool completely before using or storing.