
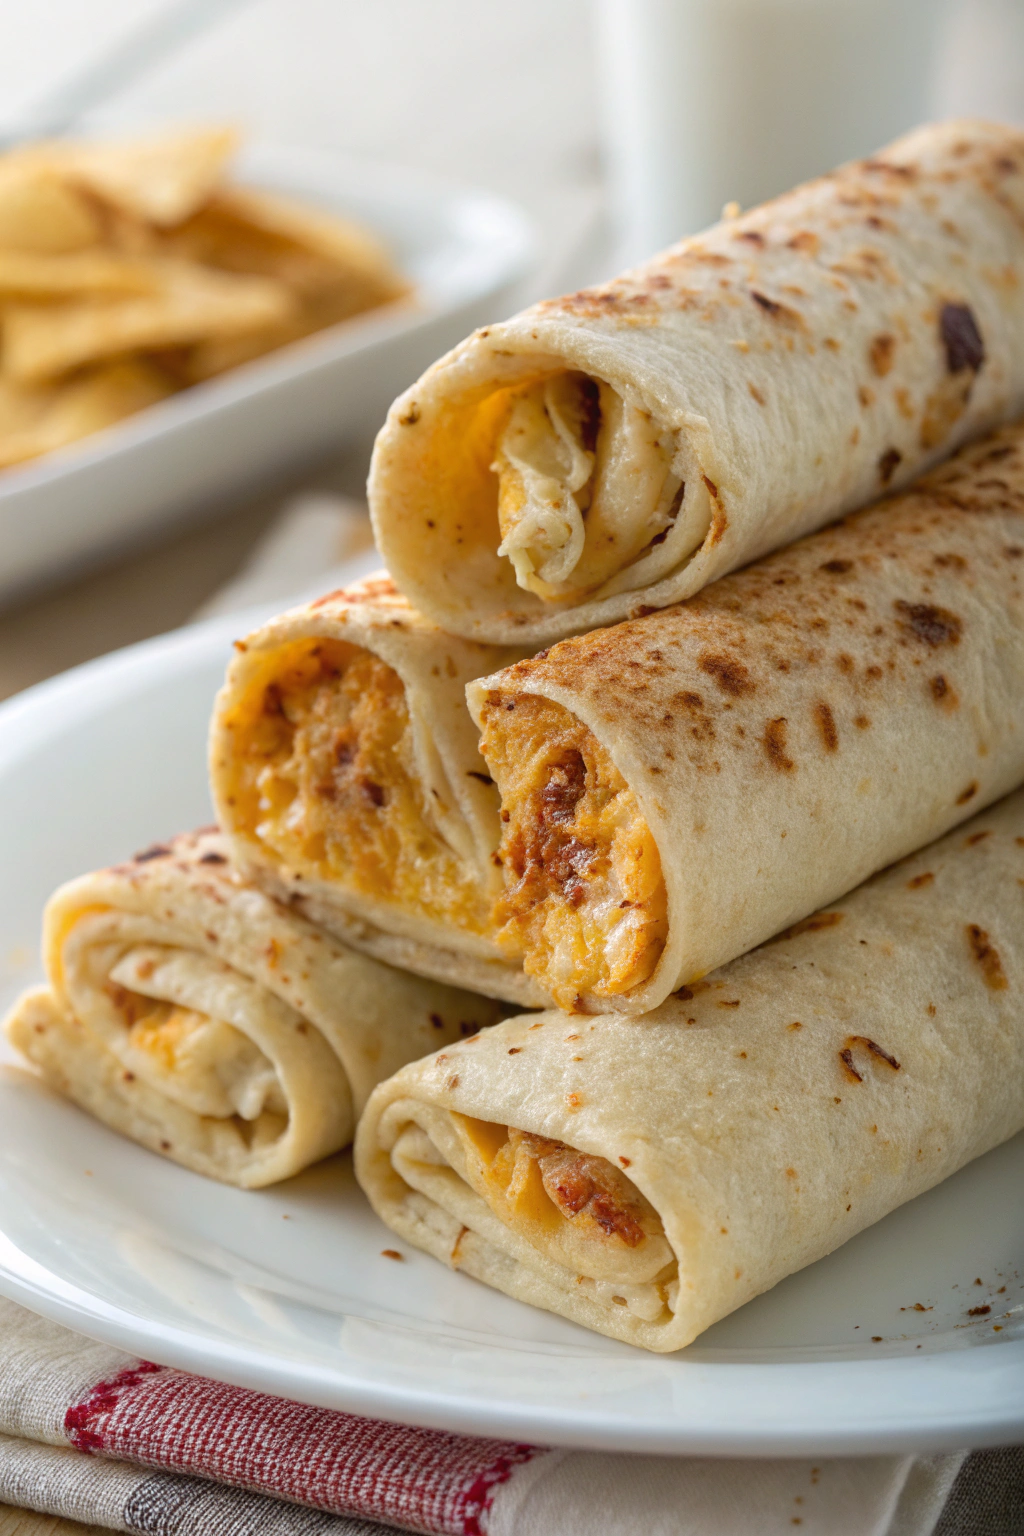
Grilled Cheese Roll-Ups Recipe has been my go-to comfort snack for years, especially when I want something quick, cheesy, and a little bit fun. Honestly, who can resist that crispy outside with gooey melted cheese inside? If you’ve never tried these little bundles of joy, you’re in for a treat. I promise, they’re way better than your average grilled cheese sandwich and perfect for any time you need a cheesy pick-me-up.
Why You’ll Love These Grilled Cheese Roll-Ups
I remember the first time I made these roll-ups. I was in a rush, hungry, and didn’t want to deal with the usual sandwich drama. These roll-ups saved the day. They’re:
- Super quick to whip up, even when you’re starving
- Perfectly crispy on the outside and melty on the inside
- Versatile – you can add whatever fillings you want
- Kid-friendly, but honestly, adults love them too
- Great for snacks, lunches, or even game day munchies
If you’re the type who loves a classic grilled cheese but wants a little twist, these roll-ups are exactly what you need.
Ingredients for Grilled Cheese Roll-Ups
Here’s what I usually have on hand when I make these:
- 6 slices of sandwich bread (white or whole wheat works)
- 6 slices of your favorite cheese (American, cheddar, or mozzarella)
- 2 tablespoons butter, softened
- Optional fillings like ham, turkey, tomato slices, or even a little pesto for the fancy folks
- A pinch of garlic powder or Italian seasoning for extra flavor (because why not?)
How to Make Grilled Cheese Roll-Ups
Making these is easier than you think, and I’m going to walk you through it step by step:
- Prep the Bread: Cut the crusts off each slice of bread. I know, it sounds like extra work, but trust me, it helps the bread roll up better without cracking.
- Flatten the Bread: Use a rolling pin or your hands to flatten each slice. This makes the bread more pliable and easier to roll.
- Add Cheese and Fillings: Place a slice of cheese on each flattened bread slice. If you’re feeling adventurous, add some ham or tomato now.
- Roll Them Up: Roll each slice tightly from one end to the other. You want a nice little cheese-filled cylinder.
- Butter Time: Spread softened butter on the outside of each roll-up. This is what gives that golden, crispy finish.
- Cook: Heat a skillet over medium heat and place the roll-ups seam side down. Cook for about 2-3 minutes on each side until golden brown and melty inside.
Serving Ideas for Grilled Cheese Roll-Ups
Now, how do you eat these bad boys? Here are some ideas:
- Serve them with a side of marinara sauce for dipping. It’s basically a party in your mouth.
- Pair with a fresh salad if you want to pretend you’re being healthy.
- Cut them into bite-sized pieces for a fun appetizer or party snack.
- Pack them in a lunchbox with some crunchy veggies for a balanced meal.
Variations on Grilled Cheese Roll-Ups
Want to switch things up? Here are some fun twists I’ve tried:
- Swap the cheese for pepper jack if you like a little heat.
- Add cooked bacon or sausage for a breakfast-inspired roll-up.
- Spread a little cream cheese and chives inside for a tangy surprise.
- Use tortillas instead of bread for a different texture.
- Make it sweet by adding Nutella and banana slices instead of cheese. Yes, it’s a thing, and yes, it’s delicious.
Tips
Here’s what I’ve learned after making these a million times:
- Don’t skip flattening the bread. It makes rolling so much easier.
- Use softened butter for even coverage and that perfect golden crust.
- Keep the heat medium to low so the cheese melts without burning the bread.
- If you have toothpicks, use them to secure your roll-ups while cooking. It saves a lot of cheese escape drama.
- Experiment with different cheeses and fillings. Variety keeps things exciting.
Storage
If you have leftovers (which I doubt), store them in an airtight container in the fridge for up to two days. Reheat in a skillet or oven to bring back the crispiness. Avoid the microwave unless you want a sad, soggy roll-up.
Common Mistakes to Avoid
1. Skipping the Butter: Dry roll-ups are sad roll-ups. Butter is your friend here.
2. Overstuffing: Too much filling makes rolling tricky and messy. Keep it simple.
3. High Heat: Cooking on too high heat burns the outside before the cheese melts inside.
4. Not Flattening Bread: This makes rolling a nightmare and can cause cracks.
Why You Should Try This Grilled Cheese Roll-Ups Recipe
Grilled Cheese Roll-Ups Recipe is a lifesaver when hunger strikes and you want something cheesy, quick, and satisfying. They’re ridiculously easy to make, customizable to your cravings, and perfect for any occasion. Plus, they bring out your inner kid without the fuss of a traditional sandwich. If you want a snack that’s both comforting and a little bit fun, these roll-ups will become your new best friend. Trust me, once you try them, you’ll wonder how you ever lived without them. Now, go on and roll with it!