
Easy Stained Glass Cookies Recipe brings candy sparkle to classic sugar cookies with simple steps and pantry staples. I make these every winter with my kids, and the trays vanish faster than I can stack them. You get crisp edges, a tender bite, and jewel bright centers that catch the light. Bake a batch for parties, cookie swaps, or a cozy afternoon project.
Homemade Stained Glass Cookies Recipe
You mix a straightforward sugar cookie dough, then fill cut out windows with crushed candy for glossy stained glass centers. The cookies hold neat edges, so your shapes look sharp and festive. You can sort candy by color for a clean look or swirl colors for a fun marbled effect. I love how the cookies taste buttery with a hint of fruit from the candy.
Ingredients You’ll Need
Gather everything before you start for a smooth bake. I list the basics and a few optional items that make the process easier.
- Unsalted butter 1 cup softened
- Granulated sugar 1 cup
- Large egg 1
- Vanilla extract 2 teaspoons
- All purpose flour 3 cups spooned and leveled
- Baking powder 1 teaspoon
- Fine salt 0.5 teaspoon
- Milk 1 to 2 teaspoons as needed for dough texture
- Assorted fruit flavored hard candy 20 to 30 pieces sorted by color
Optional and tools
- Lemon or almond extract 0.5 teaspoon for flavor twist
- Extra flour for dusting
- Parchment paper or a silicone baking mat
- Rolling pin
- Large and small cookie cutters for outer shape and window
- Zip top bags and a small mallet or rolling pin for crushing candy
- Baking sheets and a wire rack
- Drinking straw for ornament holes if you plan to hang them
How to Make Stained Glass Cookies
Follow these steps for a clean finish and shiny candy centers. I include simple checkpoints so you hit the right texture at each stage.
- Make the dough
- Beat butter and sugar in a bowl until creamy and light.
- Add the egg and vanilla, and mix until smooth.
- Add dry ingredients
- Whisk flour, baking powder, and salt in a separate bowl.
- Add the dry mix to the butter mix in two additions. If the dough feels crumbly, mix in milk one teaspoon at a time until it pulls together.
- Chill the dough
- Shape the dough into two disks and wrap each in plastic.
- Chill for 30 to 45 minutes so the dough rolls cleanly and holds shape.
- Prep the candy
- Sort candy by color.
- Place each color in a zip top bag and crush to small pebble size pieces.
- Roll and cut
- Roll one dough disk between two sheets of parchment to about quarter inch thickness.
- Cut outer shapes and transfer them to a baking sheet lined with parchment.
- Cut the windows
- Use a smaller cutter to punch a window in each cookie.
- Gather and re roll scraps as needed, and keep the sheet of cut cookies in the fridge for 10 minutes.
- Fill and bake
- Spoon crushed candy into the windows, filling just level with the dough.
- Bake at 350 F for 8 to 10 minutes, until the cookie edges look set and the candy fully melts and turns glossy.
- Cool and move
- Let the cookies cool on the sheet until the candy hardens, about 10 minutes.
- Move the cookies to a rack to cool fully.
Expert Tips
Chill the dough so your edges stay neat and sharp. Roll between parchment so the dough does not stick and you skip extra flour. Fill windows lightly, because too much candy can bubble and spill. Keep colors separate for clear glass, or swirl two colors for a marble look.
Use a light colored baking sheet for even browning. Bake one sheet at a time near the center of the oven for consistent heat. If you want to hang cookies, poke a small hole near the top with a straw right after baking while the cookies still feel warm. Let them cool fully before you thread ribbon.
Variations and Substitutions
You can tailor this Easy Stained Glass Cookies Recipe to fit your pantry and preferences. Mix and match flavors, shapes, and flours.
- Flavor swaps
- Add 0.5 teaspoon almond extract or 1 teaspoon lemon zest to the dough.
- Use orange zest for a citrus twist.
- Candy choices
- Use fruit candy for bright color and flavor.
- Try clear mints for icy windows, or keep them color free.
- Shapes and themes
- Stars, trees, bells, hearts, and snowflakes all work well.
- Make ornament cookies and add a ribbon for the tree.
- Dietary tweaks
- Use a gluten free baking blend cup for cup.
- Use a dairy free plant butter and a flax egg if you need an egg free option.
Mistakes to Avoid
Do not roll the dough too thin or too thick. Aim for about quarter inch so the windows set cleanly and the cookies bake evenly. Do not overfill the cavities, or the candy will bubble over the edges. Avoid bare metal, since melted candy can fuse to the pan, and use parchment or a silicone mat.
Do not mix many candy colors in one window, or you may get a murky shade. Cool the cookies on the sheet before moving them, or the candy centers can bend or crack. Keep the dough chilled as you work so the shapes keep clean outlines. Use fresh baking powder so the cookies rise just a touch without puffing too much.
What to Serve with Stained Glass Cookies
Pair these cookies with hot chocolate, coffee, or spiced tea for a cozy spread. I like to set them on a tray with shortbread, gingerbread, and thumbprints for contrast. For gifts, tuck a few cookies into clear bags with a little parchment between them. Add a simple tag and you have a festive treat that looks fancy with minimal fuss.
Leftovers and Storage
Cool cookies fully, then store them in an airtight container at room temperature for 5 to 7 days. Place parchment between layers so the windows do not stick. Keep the container away from humidity, since moisture softens the candy centers. If you want to plan ahead, freeze cut raw dough shapes without candy, then bake and fill the windows on the day you serve.
Nutrition Information
Approximate per cookie values will vary by size and candy choice.
Calories 110 to 140
Carbs 16 g
Total fat 4 to 6 g
Saturated fat 2.5 to 3.5 g
Protein 1 to 2 g
Sugar 8 to 12 g
Sodium 45 to 65 mg
These numbers serve as estimates for general guidance only.
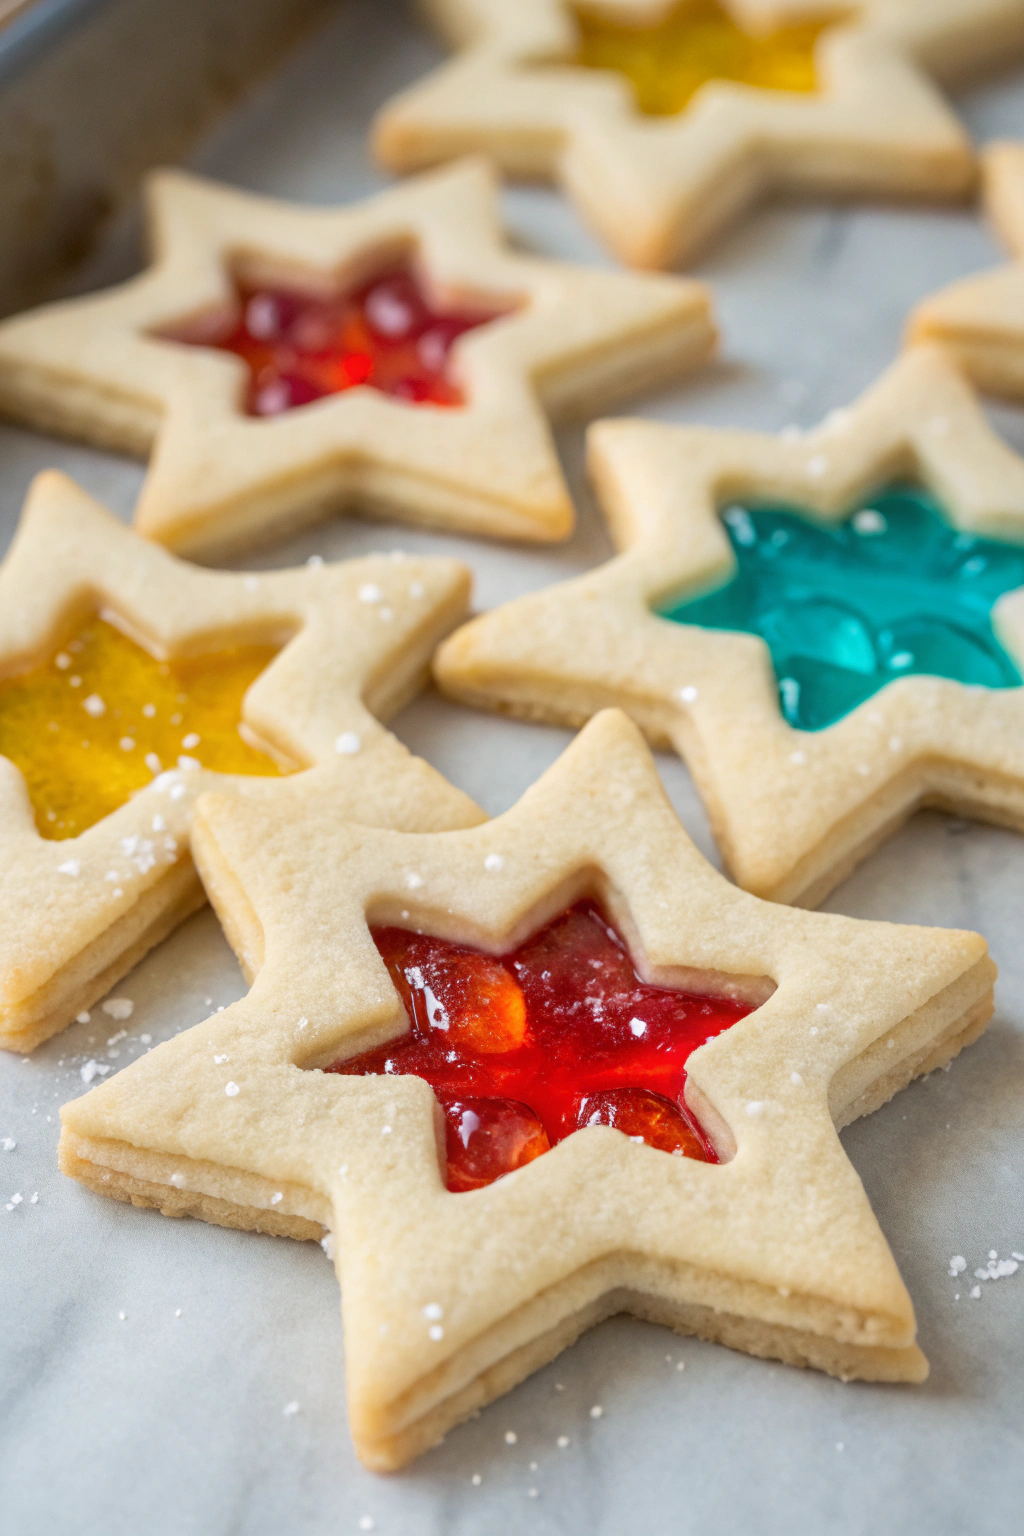
Easy Stained Glass Cookies Recipe
Ingredients
Instructions
- Preheat the oven to 350°F (175°C). Line a baking sheet with parchment paper.
- In a large bowl, cream together the softened butter and sugar until light and fluffy.
- Beat in the egg and vanilla extract until combined.
- In a separate bowl, whisk together the flour, baking powder, and salt.
- Gradually add the dry ingredients to the wet ingredients, mixing until a dough forms.
- Roll out the dough on a lightly floured surface to about 1/4-inch thickness.
- Use cookie cutters to cut out shapes, then use smaller cutters to create a window in each cookie.
- Place the cut-out cookies on the baking sheet.
- Fill the window in each cookie with crushed hard candies, pressing them slightly.
- Bake the cookies for 8-10 minutes, or until the edges are lightly golden and the candy is melted.
- Allow the cookies to cool on the baking sheet before transferring to a wire rack to cool completely.