
Royal Icing for Sugar Cookies tastes sweet, vanilla-forward, and dries shiny with a crisp bite that stands up to stacking. It suits beginner decorators and seasoned bakers, and you can mix it in about 10 minutes, with full dry time in 6 to 8 hours. I still decorate in pajama pants with coffee nearby because caffeine makes my straight lines straighter.
Easy Royal Icing for Sugar Cookies
Easy Royal Icing for Sugar Cookies gives you predictable results that hold detail and color. You can whisk it fast, adjust the consistency in minutes, and pipe clean outlines that keep flood icing exactly where you want it. It dries firm enough for packaging, yet a touch of corn syrup keeps the bite pleasant.
You control flavor and color with simple add-ins. The icing stays smooth, resists craters with a short rest, and cleans up easily. I keep a bottle of water nearby and dial in thickness without fuss.
Ingredients You’ll Need
- 4 cups powdered sugar, 10x and sifted (Domino or C&H work well; sifting prevents clogged tips)
- 3 tablespoons meringue powder (Wilton or CK; this replaces raw egg whites)
- 6 to 8 tablespoons room-temperature water (start with 6, then thin as needed)
- 1 teaspoon pure vanilla extract or almond extract (use clear vanilla if you want bright white)
- 1 teaspoon light corn syrup, optional (adds shine and a softer bite)
- Pinch of fine sea salt (balances sweetness)
- Gel food coloring as needed (AmeriColor or Chefmaster; avoid liquid coloring that thins the icing)
- Optional: 1 to 2 teaspoons lemon juice for a light, fresh note
Equipment:
- Stand mixer or hand mixer with whisk attachment, large bowl, fine-mesh sieve
- Rubber spatula, piping bags, couplers, tips no. 1 to no. 3, or squeeze bottles
- Toothpicks or a scribe tool, small bowls for tinting, airtight containers, and plastic wrap
How to Make Royal Icing for Sugar Cookies
- Prep: 10 minutes
- Cook: 0 minutes
- Total: 10 minutes
- Sift the powdered sugar into a large bowl. This step keeps the icing ultra smooth and prevents clogs.
- Add meringue powder and 6 tablespoons water to your mixer bowl. Whisk on low until the mixture looks foamy.
- Add the sifted powdered sugar in two additions with the mixer on low. Mix until it looks thick and combined.
- Increase to medium speed and beat 2 to 3 minutes until the icing forms soft to medium peaks that hold a tip. Stop when the surface looks glossy and smooth.
- Mix in vanilla or almond extract, corn syrup if using, and a pinch of salt. Scrape the bowl and stir to fully combine.
- Adjust consistency. For piping outlines, aim for 20-second icing that smooths out in about 20 seconds. For flooding, aim for 10 to 12 seconds. Thin a little at a time with water from a spoon or spray bottle, or thicken with a tablespoon of sifted powdered sugar.
- Divide into bowls and tint with gel coloring. Stir gently to avoid adding extra air bubbles.
- Press plastic wrap directly on the surface and rest the icing for 5 to 10 minutes. Pop any bubbles that rise with a toothpick, then give it a brief stir.
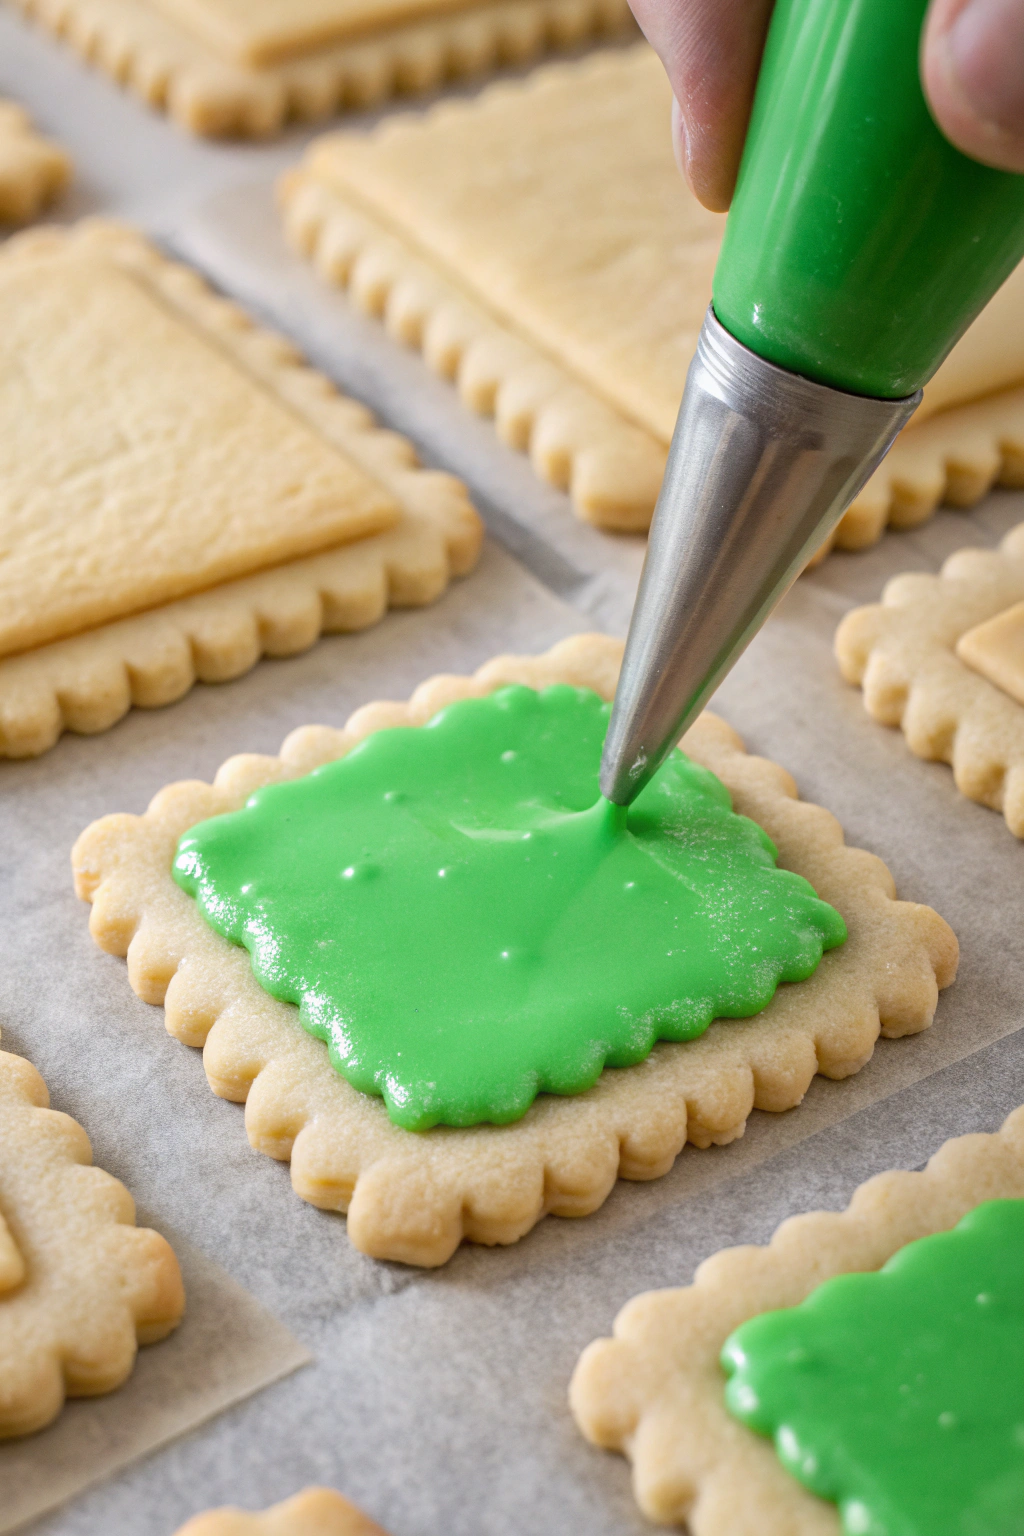
- Load piping bags or bottles. Pipe outlines, then flood the center, and use a scribe to nudge icing into corners and pop stray bubbles.
- Let the cookies dry at room temperature 6 to 8 hours or overnight, away from moisture and strong airflow. Once the surface sets, add details with a thicker icing if you want layering.
Tips & Tricks
- Use a spray bottle to thin the icing drop by drop for precision.
- Keep a damp towel over bowls and tips to prevent crusting while you work.
- Test consistency with the 10 to 20 second rule and adjust in tiny increments.
- Sift powdered sugar every time to avoid gritty icing and clogged tips.
- Add a few drops of white gel color to brighten and counteract off-white tones.
- Mix on medium, not high, to limit bubbles that pit your cookies.
- Rest tinted icing 5 to 10 minutes, then stir gently to release trapped air.
- Work in cool, dry conditions when you can; humidity slows drying.
- Use clear vanilla for bright white, use almond extract for a bakery-style note.
Make-Ahead and Storage
Store unused royal icing in an airtight container with plastic wrap pressed onto the surface. Keep it at room temperature up to 1 week if you used meringue powder, or refrigerate up to 2 weeks. Freeze icing up to 3 months, then thaw overnight in the fridge and bring it to room temperature before you stir it smooth.
Stir or briefly mix the icing to refresh the texture, and thin with water if it thickened during storage. For decorated cookies, let them dry fully, then store in single layers for 24 hours before stacking with parchment between layers. Keep finished cookies at room temperature up to 1 week, or freeze up to 1 month in airtight containers.
Nutrition Information
Approximate per tablespoon of icing:
- Calories: 45
- Carbohydrates: 11 g
- Sugars: 11 g
- Fat: 0 g
- Protein: 0 g
- Sodium: 5 mg
Yield varies by consistency and design choices. These numbers estimate a typical batch made with 4 cups powdered sugar and meringue powder.
Easy Royal Icing for Sugar Cookies
Ingredients
Instructions
- In a large bowl, combine powdered sugar and meringue powder.
- Add water and vanilla extract (if using).
- Beat the mixture with an electric mixer on low speed for 7-10 minutes until stiff peaks form.
- Adjust consistency by adding more water (for thinner icing) or powdered sugar (for thicker icing).
- Use immediately or store in an airtight container to prevent drying.