
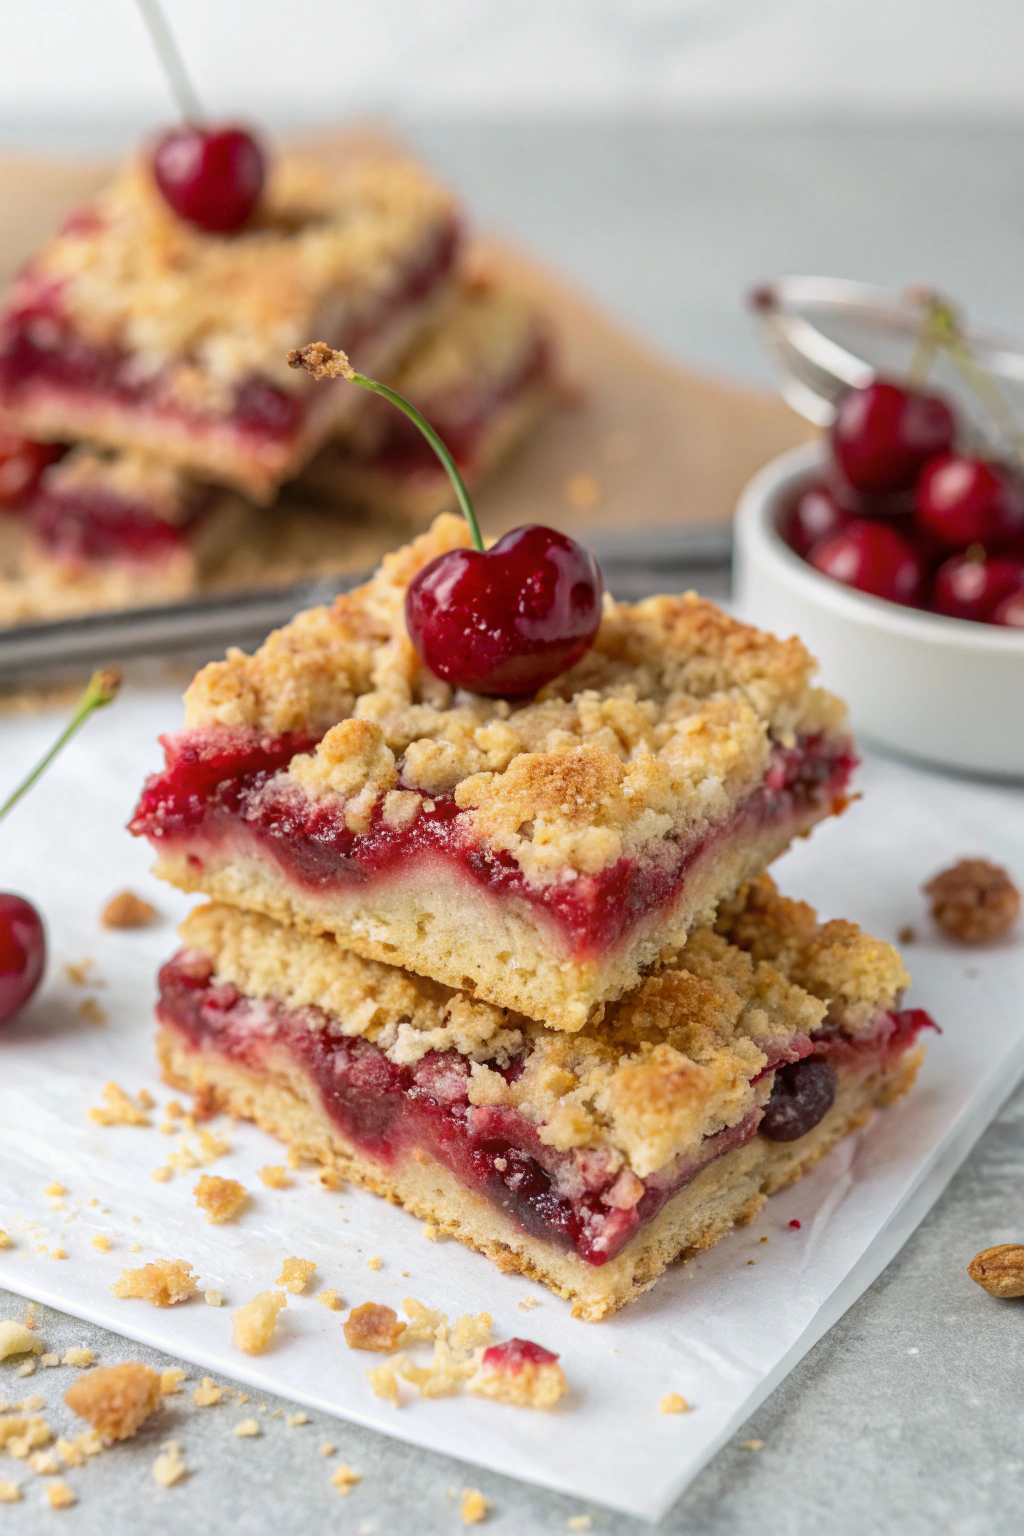
Cherry Pie Crumb Bars Recipe has been my go-to for those times when I want cherry pie vibes without the fuss of rolling dough or dealing with a messy pie dish. These bars pack all the sweet, tangy cherry goodness with a buttery crumb topping that’s basically a hug for your taste buds. If you’re anything like me and love a dessert that feels like a warm, cozy blanket but can be whipped up without breaking a sweat, this recipe is your new best friend.
Why You’ll Fall for These Cherry Pie Crumb Bars
I won’t lie, I’ve made a lot of desserts over the years, but these bars have a special place in my heart. They’re like cherry pie’s cooler, easier cousin who shows up with a killer crumb topping and zero attitude. Here’s why they rock:
- Simple to make: No fancy pie crust skills required, which means less stress and more eating.
- Perfect balance: Sweet cherries with a hint of tartness, wrapped in buttery crumbs.
- Great for sharing: Cut into bars and watch them disappear at parties or family dinners.
- Make ahead friendly: Bake them in advance and they stay moist and delicious for days.
- Versatile: Use fresh or frozen cherries, depending on what’s available or how lazy I’m feeling.
Ingredients for Cherry Pie Crumb Bars Recipe
I keep my pantry stocked with these basics because you never know when a craving hits. Here’s what you’ll need:
- 2 cups all-purpose flour
- 1 cup granulated sugar
- 1 teaspoon baking powder
- 1/4 teaspoon salt
- 1 cup unsalted butter, cold and cubed
- 1 large egg
- 1 teaspoon vanilla extract
- 2 cups pitted cherries (fresh or frozen)
- 1/2 cup cherry pie filling or jam (optional, for extra cherry punch)
- 2 tablespoons cornstarch
- 1 tablespoon lemon juice
- 1/2 cup brown sugar (for crumb topping)
- 1 teaspoon ground cinnamon (optional, but trust me on this)
How I Make These Cherry Pie Crumb Bars
I keep the process straightforward because baking should never feel like a part-time job. Here’s my step-by-step:
- Preheat your oven: Set it to 350°F and grease or line a 9×13 inch baking pan with parchment paper.
- Mix dry ingredients: Combine flour, granulated sugar, baking powder, and salt in a large bowl.
- Cut in the butter: Use a pastry cutter or your fingers to work the cold butter into the flour mix until it looks like coarse crumbs.
- Add egg and vanilla: Stir in the egg and vanilla until the dough just comes together. Don’t overwork it or you’ll lose that crumbly magic.
- Press half the dough: Spread half of the dough evenly into the bottom of your pan.
- Prepare cherry filling: Toss cherries with cornstarch and lemon juice. Stir in pie filling or jam if you want it extra gooey.
- Spread the cherry layer: Pour the cherry mixture over the pressed dough and spread evenly.
- Top with remaining dough: Crumble the rest of the dough over the cherries. Mix brown sugar and cinnamon into the crumbs before sprinkling for that extra flavor boost.
- Bake: Slide the pan into the oven and bake for 40 to 45 minutes until the top is golden and the cherry filling bubbles.
- Cool and cut: Let the bars cool completely before slicing into squares or rectangles.
Serving Ideas for Cherry Pie Crumb Bars
I like to keep things simple, but a little extra flair never hurt anyone:
- With a scoop of vanilla ice cream: Because cold and creamy is always a winner with warm fruit desserts.
- Drizzle of chocolate sauce: Yes, I’m that person who puts chocolate on everything.
- Dust with powdered sugar: For a pretty presentation if you’re feeling fancy.
- Pair with coffee or tea: Perfect for a mid-afternoon pick-me-up.
Variations to Mix Things Up
I’ve tweaked this recipe over the years to keep it interesting. Here are some ideas you might want to try:
- Swap cherries for other fruits: Blueberries, raspberries, or even peaches work beautifully.
- Add nuts: Chopped almonds or pecans in the crumb topping add a nice crunch.
- Make it gluten-free: Use a gluten-free flour blend and watch the magic happen.
- Go vegan: Replace butter with coconut oil and use a flax egg instead.
- Spice it up: Add a pinch of nutmeg or ginger to the crumb topping for a warm twist.
Tips I Swear By When Baking These Bars
I’ve made enough mistakes to know what works and what doesn’t:
- Keep the butter cold: It’s the secret to that perfect crumb texture.
- Don’t overload the cherry layer: Too much filling makes the bars soggy and hard to cut.
- Let it cool completely: Cutting warm bars is a recipe for a messy disaster.
- Use parchment paper: It saves your sanity when lifting the bars out of the pan.
How I Store My Cherry Pie Crumb Bars
Because leftovers (if there are any) deserve love too:
- Store bars in an airtight container at room temperature for up to 3 days.
- Refrigerate if your kitchen is warm; they’ll last about a week.
- Freeze individual bars wrapped tightly in plastic wrap for up to 3 months. Thaw before serving.
Why You Should Try This Cherry Pie Crumb Bars Recipe
If you want a dessert that hits all the right notes without demanding hours in the kitchen, these Cherry Pie Crumb Bars are your answer. They’re easy, delicious, and bring that nostalgic cherry pie feeling in a neat, crumbly package. I promise, once you make these, you’ll wonder why you ever bothered with traditional pie crust drama. Give it a go and see how quickly these bars vanish—your friends and family will thank you, or at least pretend to while sneaking seconds.