
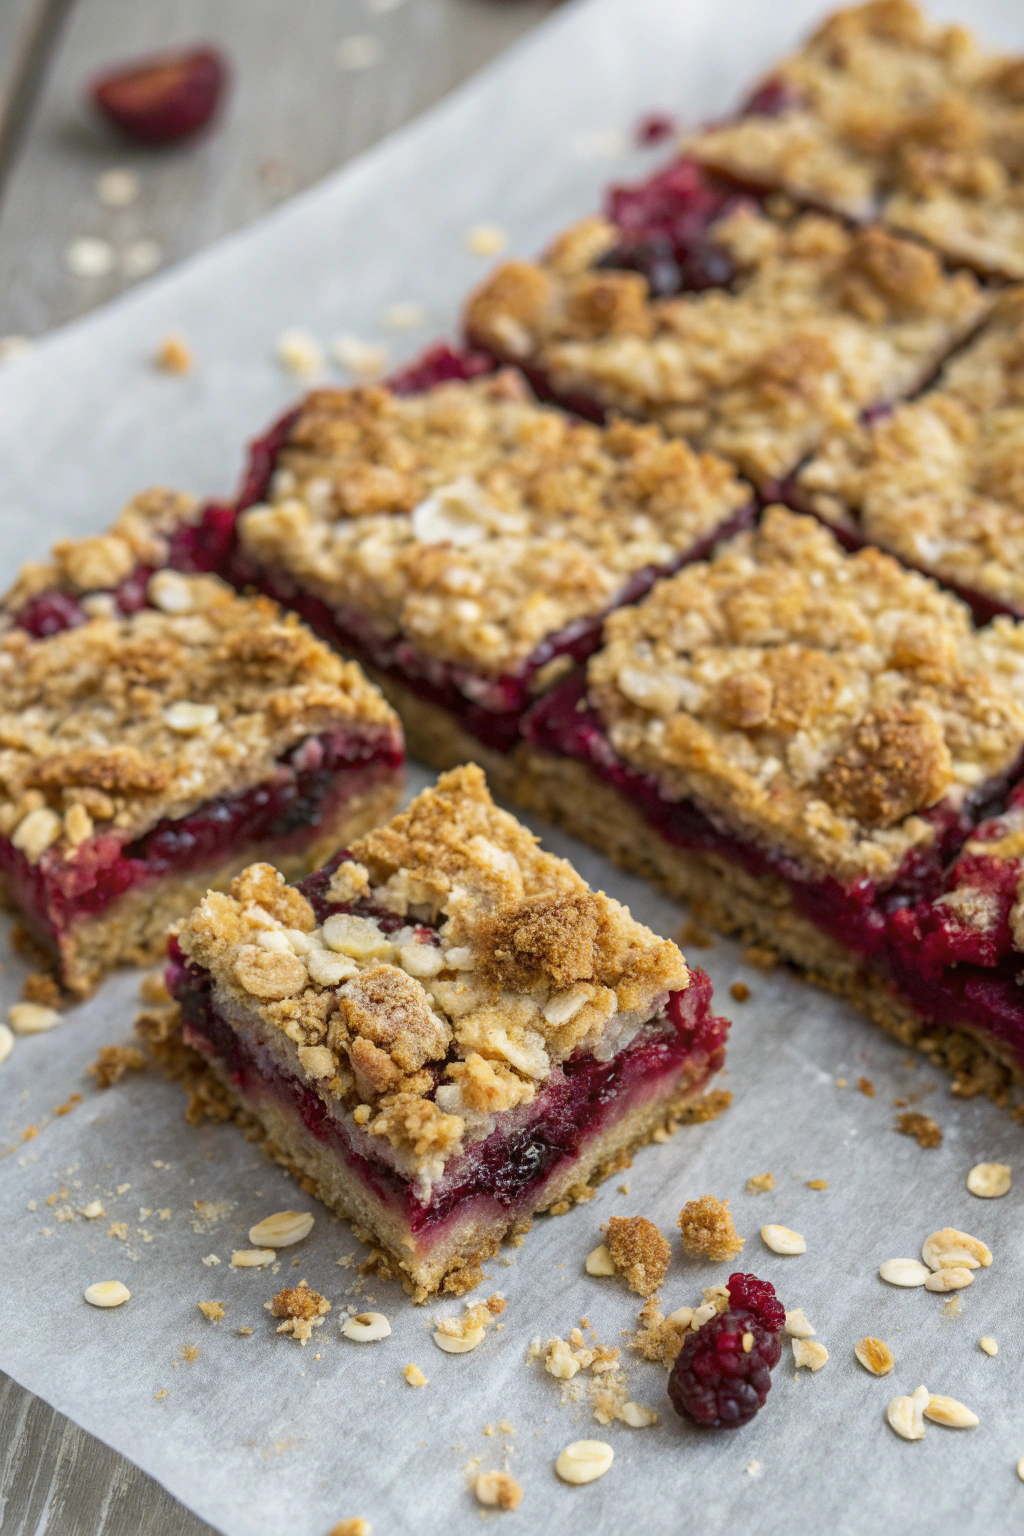
Rhubarb Oat Bars Recipe has been one of my go-to treats when I crave something sweet but not too sweet, with a bit of tang and a whole lot of texture. If you’ve ever wondered how to combine the tartness of rhubarb with the comforting chewiness of oats, you’re in for a treat. Trust me, this recipe hits that perfect balance and makes your kitchen smell like a cozy bakery.
Why You’ll Love These Rhubarb Oat Bars Recipe
When I first made these bars, I was skeptical. Rhubarb isn’t exactly the most popular fruit at my local market, and I wasn’t sure if it would work well in a bar. Spoiler alert: it totally does. Here’s why these bars have become a staple in my baking arsenal:
- Perfect Tangy-Sweet Combo: Rhubarb brings a tartness that wakes up your taste buds without overwhelming the oats.
- Chewy and Crunchy Texture: The oats give a hearty chew while the crumbly topping adds a bit of crunch.
- Simple Ingredients: You probably already have most of these in your pantry.
- Great for Snacking or Breakfast: They hold up well in a lunchbox or as a quick morning bite.
- Easy to Customize: Want to add nuts, swap sweeteners, or use gluten-free oats? Go for it.
Ingredients For Rhubarb Oat Bars Recipe
Here’s what I usually gather before I start baking these bars:
- 2 cups fresh rhubarb, chopped into small pieces
- 1 cup rolled oats (not instant, please)
- 1 cup all-purpose flour (or gluten-free if you prefer)
- ¾ cup brown sugar, packed
- ½ teaspoon baking soda
- ½ teaspoon cinnamon (optional, but I love it)
- ¼ teaspoon salt
- ¾ cup unsalted butter, melted (yes, melted is the secret)
- 1 teaspoon vanilla extract
- 2 tablespoons cornstarch (to keep the rhubarb filling from turning into soup)
How I Make Rhubarb Oat Bars
I always find that breaking the process down makes it less intimidating. Here’s my step-by-step method:
- Prepare the Filling: Toss the chopped rhubarb with cornstarch and about ¼ cup of the brown sugar. This helps thicken the filling and cuts the tartness a bit.
- Mix the Dry Ingredients: In a bowl, combine oats, flour, baking soda, cinnamon, salt, and the rest of the brown sugar.
- Add Butter and Vanilla: Pour in the melted butter and vanilla extract, then stir until everything looks crumbly but sticks together when pressed.
- Build the Bars: Press about two-thirds of the oat mixture into a greased 9×9 inch baking pan. Spread the rhubarb filling evenly over this base.
- Top It Off: Sprinkle the remaining oat mixture on top, gently pressing it down but leaving it crumbly.
- Bake: Pop it in the oven at 350°F for 35 to 40 minutes, or until the top is golden and the rhubarb is bubbling.
Serving Suggestions For Rhubarb Oat Bars
Honestly, these bars are good on their own, but a little extra never hurts:
- With a Dollop of Greek Yogurt: Adds a creamy tang that pairs perfectly with the tart rhubarb.
- A Scoop of Vanilla Ice Cream: Because why not make dessert even better?
- Drizzled with Honey or Maple Syrup: For an extra touch of sweetness.
- Wrapped Up for a Picnic: They travel well and don’t get messy.
Variations I’ve Tried and Loved
I’m all about mixing things up, so here are some tweaks I’ve enjoyed:
- Add Chopped Nuts: Walnuts or pecans add a nice crunch.
- Swap Brown Sugar for Coconut Sugar: For a deeper, caramel-like flavor.
- Use Mixed Berries Instead of Rhubarb: Blueberries or raspberries work beautifully.
- Make It Vegan: Replace butter with coconut oil and use a flax egg if you want to bind it better.
- Add a Pinch of Ginger or Cardamom: For a little spice kick.
Tips From My Baking Experience
I’ve learned a few things over the years that make these bars even better:
- Don’t Overmix the Oat Mixture: You want it crumbly, not doughy.
- Chop Rhubarb Small: Big chunks can make the bars soggy.
- Let Bars Cool Completely: They firm up as they cool, making them easier to cut.
- Use Fresh Rhubarb If Possible: Frozen works but can be watery.
- Line Your Pan With Parchment Paper: It makes lifting the bars out a breeze.
Storage and Shelf Life
If you somehow manage to keep these bars around, here’s how to store them:
- Store in an airtight container at room temperature for up to three days.
- For longer storage, keep them in the fridge for up to a week.
- Freeze individual bars wrapped tightly in plastic wrap and foil for up to two months.
Common Mistakes I’ve Made (So You Don’t Have To)
I’ve had my fair share of baking blunders. Here’s what I learned:
- Too Much Rhubarb Filling: It can turn the bars into a soggy mess. Stick to the recipe amount.
- Skipping the Cornstarch: Your filling might be runny and unmanageable.
- Pressing the Topping Too Hard: It should stay crumbly, not compacted.
- Not Letting Bars Cool: Cutting warm bars leads to a crumbly disaster.
Why You Should Try This Rhubarb Oat Bars Recipe
These Rhubarb Oat Bars hit all the right notes: a little tang, a little sweet, and a whole lot of comforting texture. They’re straightforward to make, don’t demand exotic ingredients, and fit perfectly into my snack or breakfast routine. Plus, they make your kitchen smell like you actually know what you’re doing. Give them a whirl you might just find yourself making them again and again (and not telling anyone how easy they were). After all, who doesn’t want a treat that tastes fancy but feels like a warm hug?