
Cherry Blossom Japanese Sakura Cheesecake Recipe is one of those treats that feels like a gentle hug from spring itself. The soft pink hues and delicate floral notes make it a standout dessert, especially if you’re into Japanese flavors or just want to impress your friends with something a little different. I stumbled upon this recipe a few years back and have been hooked ever since. It’s light, fluffy, and just the right amount of sweet with that subtle sakura essence.
Why You’ll Love This Recipe
This cheesecake isn’t your typical dense, heavy dessert. It’s airy, almost cloud-like, thanks to the Japanese style of baking that incorporates whipped egg whites. The sakura flavor adds a floral twist that’s not overpowering but just enough to make you curious with every bite. Plus, the pink tint is naturally beautiful, so it’s perfect for special occasions or when you want to treat yourself to something pretty and tasty.
I remember the first time I made it, I was worried it wouldn’t rise properly or that the flavor would be too faint. But it came out perfectly fluffy and the sakura taste was just right a subtle floral note that pairs wonderfully with the creamy texture. It’s a bit of a showstopper without being complicated.
Ingredients You’ll Need
Here’s a quick rundown of what goes into this cheesecake:
- 250g cream cheese, softened
- 50g unsalted butter, softened
- 100ml milk
- 6 large eggs, separated
- 140g granulated sugar
- 60g all-purpose flour
- 20g cornstarch
- 1 tsp vanilla extract
- 1-2 tsp sakura (cherry blossom) syrup or extract
- A pinch of salt
- Optional: pink food coloring for that extra cherry blossom pink hue
Make sure your cream cheese and butter are at room temperature for smooth mixing. Separating the eggs properly is key to getting that fluffy texture, so take your time with this step.
How to Make Cherry Blossom Japanese Sakura Cheesecake
- Preheat your oven to 320°F (160°C). Prepare a 7 or 8-inch springform pan by lining the bottom with parchment paper.
- Mix cream cheese, butter, and milk in a large bowl until smooth and creamy.
- Add egg yolks, sugar, vanilla extract, and sakura syrup to the mixture. Beat until well combined.
- Sift in the flour, cornstarch, and salt, then gently fold into the batter until smooth.
- In a separate bowl, whisk egg whites until soft peaks form. Gradually add sugar and continue whisking until stiff peaks develop.
- Carefully fold the egg whites into the cream cheese mixture in batches. Be gentle to keep the batter airy.
- Pour the batter into the prepared pan and tap gently to release any large air bubbles.
- Bake in a water bath for about 60 minutes. To do this, place the springform pan in a larger baking dish filled halfway with hot water.
- Turn off the oven and leave the cheesecake inside for another 15 minutes to prevent cracking.
- Remove from oven and cool completely before removing from the pan. Chill in the fridge for a few hours or overnight for best results.
Baking Tips
- Use fresh eggs at room temperature to get the best volume when whipping the whites.
- Folding the egg whites in gently is crucial. If you’re too rough, the batter will deflate and the cake won’t be as fluffy.
- The water bath keeps the cheesecake moist and prevents cracks, so don’t skip this step.
- If you want a more intense sakura flavor, add a little more syrup but be cautious it can get overpowering quickly.
- To get that perfect pink color, a drop or two of food coloring goes a long way.
Substitutions & Variations
If you can’t find sakura extract or cherry blossom syrup, don’t sweat it. Here are some alternatives:
- Use rose water or a few drops of cherry extract for a similar floral vibe.
- Swap cream cheese with mascarpone for a richer texture.
- Add a handful of fresh or frozen cherries to the batter for a fruity twist.
- For a gluten-free version, replace the all-purpose flour with rice flour or a gluten-free blend.
Feel free to experiment with the toppings too. A dusting of powdered sugar, a drizzle of white chocolate, or a few edible flowers can make it look even more stunning.
Serving Ideas for Cherry Blossom Japanese Sakura Cheesecake
This cheesecake is lovely on its own, but you can dress it up in a few ways:
- Serve with a dollop of whipped cream sprinkled with matcha powder.
- Add fresh strawberries or cherries on the side for a fruity contrast.
- Drizzle a little sakura syrup or honey on top for extra sweetness.
- Pair it with a cup of green tea or jasmine tea to complement the floral notes.
I often slice it thin and enjoy it with a cup of tea in the afternoon. It’s light enough to not feel guilty but special enough to make you feel like you’re indulging.
Leftovers and Storage Tips
If you happen to have leftovers (which might be rare because it’s that good), store the cheesecake in an airtight container in the fridge. It keeps well for up to 3 days. The texture might firm up a bit, but it still tastes fantastic chilled.
Avoid freezing this cheesecake because the delicate texture can suffer and become crumbly once thawed. If you want to prepare ahead, bake it fully and chill, but keep it refrigerated until serving.
When serving leftovers, let the cheesecake sit at room temperature for about 15 minutes before slicing. This softens it up and brings out the flavors beautifully.
Mistakes to Avoid
- Overwhipping the egg whites can make them dry and grainy, which won’t fold well into the batter.
- Skipping the water bath often leads to cracks or a dry texture.
- Opening the oven door during baking can cause the cheesecake to collapse. Patience is key here.
- Using cold ingredients can cause lumps in your batter, so make sure everything is at room temperature.
- Not letting the cake cool slowly in the oven can cause sudden temperature changes, leading to cracks.
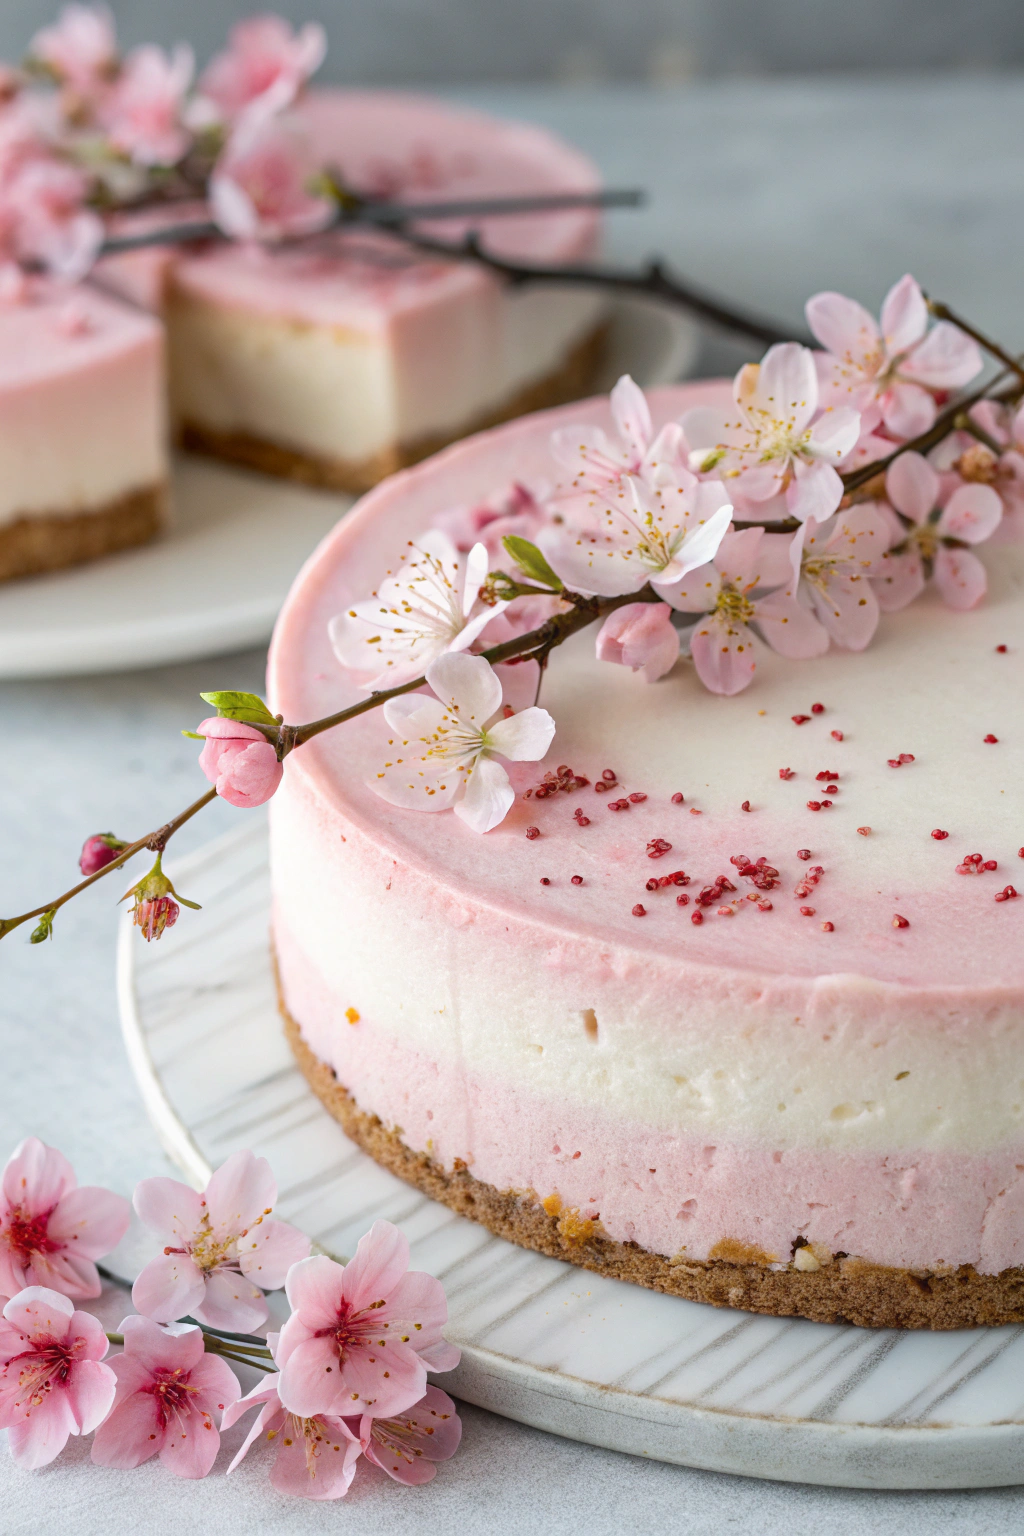
Cherry Blossom Japanese Sakura Cheesecake
Ingredients
Instructions
- Preheat the oven to 320°F (160°C). Line a 7-inch cake pan with parchment paper and wrap the outside with aluminum foil for a water bath.
- In a double boiler, melt the cream cheese, butter, and milk until smooth. Remove from heat and add vanilla extract and sakura essence.
- Sift the cake flour and cornstarch together and add to the cream cheese mixture. Mix until fully incorporated.
- In a separate bowl, whisk egg yolks until pale, then add to the cream cheese mixture. Stir gently to combine.
- In another bowl, beat egg whites with salt until foamy, then gradually add sugar and beat until stiff peaks form.
- Fold one third of the egg whites into the cream cheese batter to lighten it, then gently fold in the remaining egg whites until just combined.
- Pour the batter into the prepared pan. Place the pan in a larger baking dish and add hot water halfway up the sides for a water bath.
- Bake for 50-60 minutes or until the top is golden and a skewer inserted comes out clean.
- Turn off the oven and leave the cheesecake inside with the door slightly open for 15 minutes to prevent cracking.
- Remove from the oven and let cool completely before removing from the pan.