
Christmas Oreo Pops Recipe tastes like crunchy cookies hugged by creamy chocolate with a festive sprinkle party on top. It suits busy bakers, kids, and last-minute hosts, and it takes about 25 minutes including chill time. I tested these at midnight while my dog judged my sprinkle accuracy.
Why Choose This Christmas Oreo Pops Recipe
This Christmas Oreo Pops Recipe gives you a foolproof treat that looks bakery-level without any fuss. You only need pantry shortcuts, a microwave, and some sprinkles to pull off a tray that makes everyone smile.
“These Oreo cookie pops looked like I bought them at a fancy shop, but I whipped them up during a holiday movie break.” ★★★★★
Ingredients You Need
- 24 Double Stuf Oreos or Gluten-Free Oreos
- Double Stuf grips the lollipop stick better.
- 12 ounces white candy melts or vanilla almond bark
- Almond bark melts smoother than many chips.
- 12 ounces red candy melts
- I like Ghirardelli or Merckens for easy dipping.
- 12 ounces green candy melts
- 1 to 2 teaspoons refined coconut oil or shortening, optional
- Thin thick melts with a tiny bit to reach a silky flow.
- 1 cup Christmas sprinkles and nonpareils
- Optional add-ons: crushed candy canes, mini M&Ms, edible glitter, mini pretzels for antlers
Equipment
- 24 lollipop sticks, 6-inch
- 2 large baking sheets lined with parchment
- 3 microwave-safe bowls
- Spoons, forks, and a tall narrow cup for dipping
- Small piping bags or zip-top bags for drizzle
- Cooling rack or a block of foam to stand pops while they set
Pantry shortcuts and swaps
- Use pre-colored candy melts to skip gel coloring.
- Swap in chocolate wafers for a darker shell.
- Use squeeze bottles of cookie icing for quick drizzle details.
How to Make Christmas Oreo Pops Recipe
Step 1: Set up your station
Line two baking sheets with parchment. Open your sprinkles so you can reach them fast. Clear fridge space for one sheet.
Step 2: Anchor the sticks
Twist an Oreo open. Dip a lollipop stick tip in a little melted white candy or almond bark, press it into the cream, then cap the cookie. Lay the cookie flat and repeat with the rest.
Step 3: Chill the bases
Slide the tray into the fridge for 10 minutes so the stick glue firms up. This quick chill locks the stick and stops wobbles during dipping.
Step 4: Melt the candy
Microwave each color in a separate bowl at 50 percent power in 30-second bursts, stirring between rounds until smooth. Stir in a tiny bit of coconut oil if the melts look thick. Keep bowls warm by resting them over a mug of hot water, but keep water out of the chocolate.
Step 5: Dip like a pro
Pour a color into a tall cup. Dip a cookie pop straight down, tilt to coat, then lift and tap the stick gently on the cup rim while you rotate to shake off excess. Lay it on parchment or stand it in foam if you want a perfect edge.
Step 6: Decorate fast
Add sprinkles, crushed candy canes, or mini M&Ms while the coating stays wet. Pipe white or contrasting drizzle with a small bag. Work in batches so the first few do not set before you decorate.
Step 7: Set and clean edges
Let pops set at room temp for 15 minutes or chill for 8 to 10 minutes. If you see small drips, trim them with a paring knife once the shell hardens.
Tips & Common Mistakes
- Use Double Stuf so the cream grips the stick.
- Glue each stick with a dab of melted candy to prevent spinning.
- Do not overheat the melts; aim for warm and fluid, not hot.
- Thin thick melts with a half teaspoon of coconut oil at a time.
- Keep all tools dry; water seizes chocolate and ruins the bowl.
- Dip straight down and tap gently to avoid cracks.
- Decorate pops while the coating stays wet so sprinkles adhere.
- Work 6 pops at a time to keep control.
- If a cookie breaks, patch it with a little melted candy and chill.
- Stand pops in foam for a clean edge, or lay flat for a rim.
Variations I've Tried
- Peppermint Bark Pops: white coating, crushed candy canes, dark chocolate drizzle.
- Grinch Green Pops: green coating with one red heart sprinkle.
- Snowman Faces: white coating, mini chocolate chip eyes, orange sprinkle nose.
- Rudolph Pops: milk chocolate coating, pretzel antlers, red candy nose.
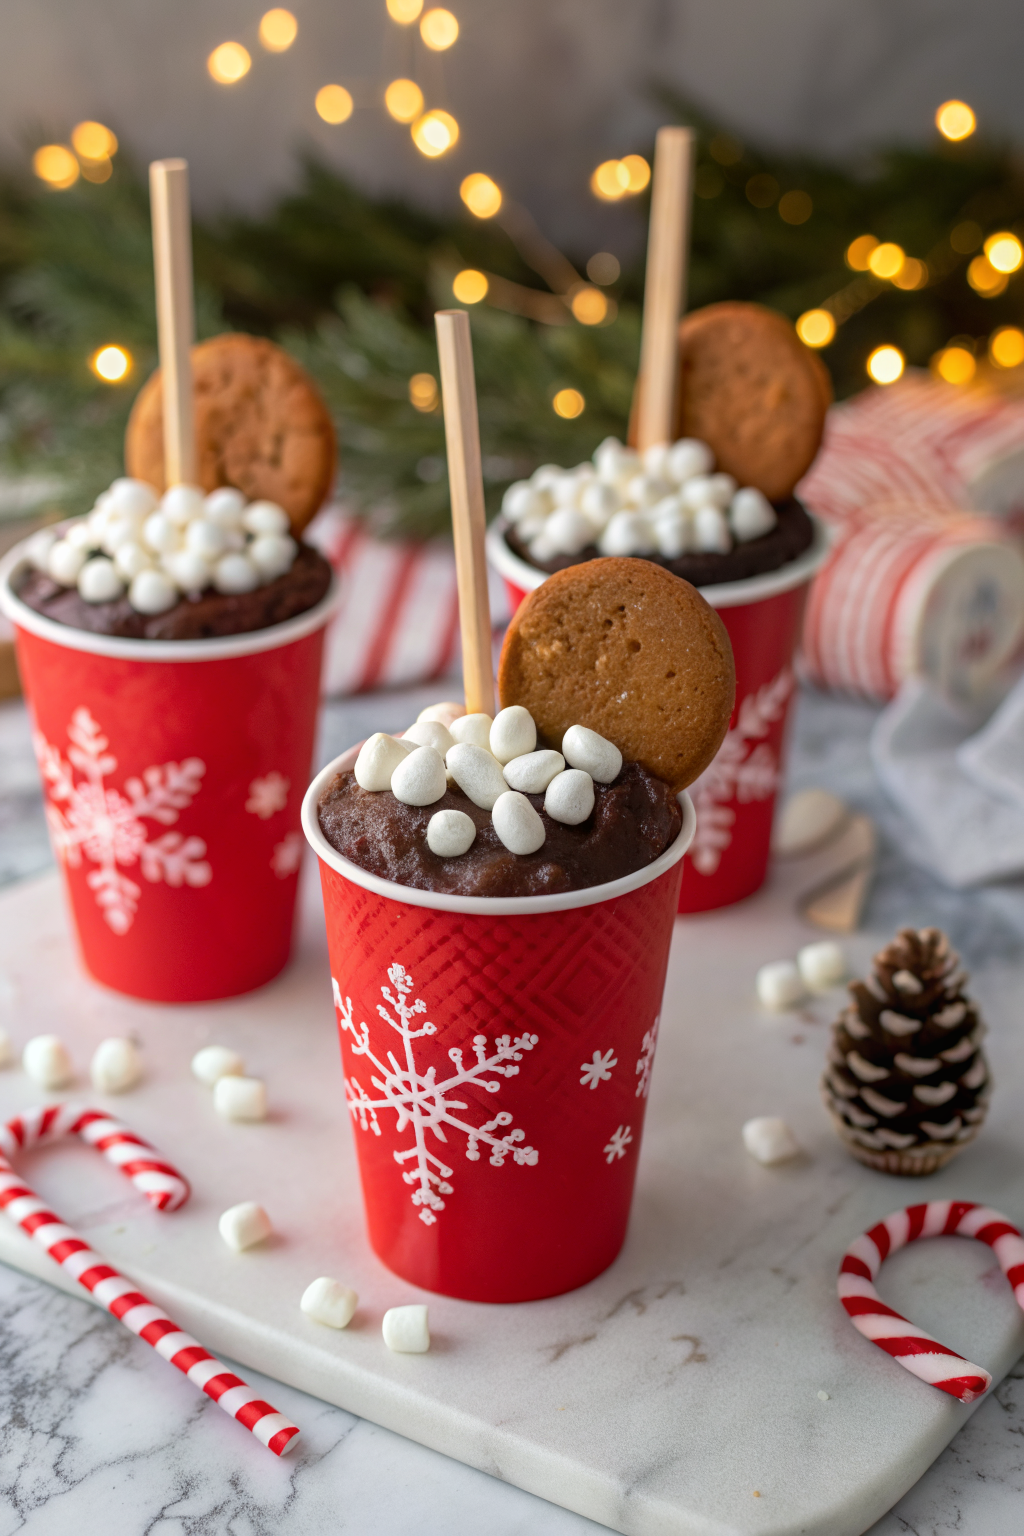
- Hot Cocoa Pops: chocolate coating, mini marshmallows, cocoa dust.
- Golden Oreo Pops: white coating with gold sanding sugar for sparkle.
- Dairy-free Spin: use vegan sandwich cookies and dairy-free melts.
How to Serve
Pile the Oreo cookie pops on a platter or stand them upright in a mason jar filled with sugar for a candy-shop look. Pair them with hot cocoa, peppermint lattes, or cold milk for classic holiday vibes. Tuck a few into cookie boxes or stockings as edible gifts. Serve them slightly chilled for a clean snap and glossy finish.
Make-Ahead and Storage
Store pops in a single layer in an airtight container with parchment between layers. Keep them at cool room temp for up to 5 days or in the fridge for up to 10 days. Freeze for up to 2 months, then thaw in the fridge inside the closed container to avoid condensation spots. Skip reheating; these taste best chilled or at room temp.
Christmas Oreo Pops Recipe
Ingredients
Instructions
- Line two large baking sheets with parchment paper and set out your sprinkles and decorations. Clear space in the refrigerator for one baking sheet.
- Twist each Oreo cookie open. Dip the tip of a lollipop stick into a little melted white candy coating or almond bark, press it into the cream filling, then gently press the top cookie back on. Lay the assembled cookies flat on a parchment-lined baking sheet.
- Refrigerate the tray of Oreo pops for about 10 minutes to allow the candy holding the sticks to firm up and secure the cookies.
- Place the white, red, and green candy melts in three separate microwave-safe bowls. Microwave each bowl at 50% power in 30-second bursts, stirring after each burst, until smooth and fully melted. If the coating seems too thick, stir in a small amount of coconut oil or shortening until it flows easily.
- Pour one color of melted candy into a tall, narrow cup. Dip a chilled Oreo pop straight down into the coating, tilt to fully cover the cookie, then lift and gently tap the stick against the rim of the cup while rotating to remove excess coating.
- Place the coated Oreo pop on the parchment-lined baking sheet or stand it upright in a block of foam. Immediately decorate with Christmas sprinkles, nonpareils, and any optional toppings before the coating sets. Repeat with remaining pops, working a few at a time so the coating stays wet for decorating.
- Allow the Oreo pops to set at room temperature for about 15 minutes, or refrigerate for 8 to 10 minutes until the candy coating is firm. If desired, trim any small drips or excess coating from the edges with a paring knife once hardened before serving.
Notes
Approximate per 1 Oreo pop (assuming 24 pops): 210 calories; fat 11 g; saturated fat 7 g; carbohydrates 28 g; fiber 1 g; sugars 20 g; protein 2 g; sodium 140 mg. Values will vary based on cookie brand, candy melts, decorations used, and portion size.